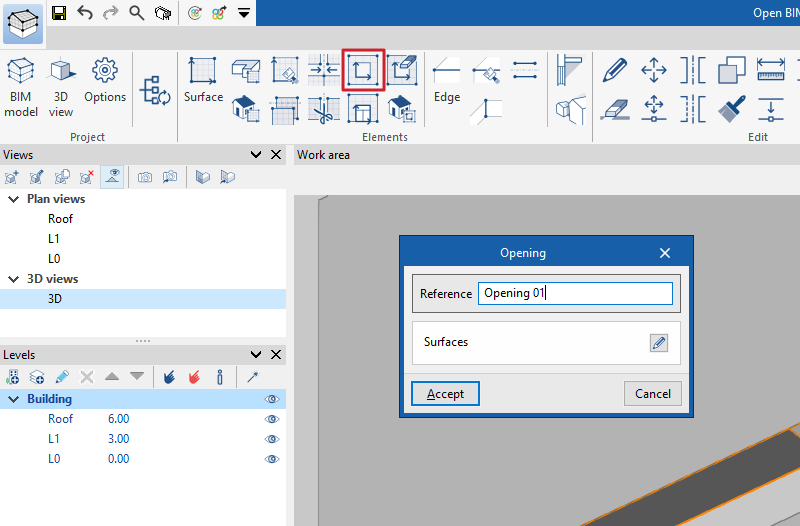
To manually enter and define an opening in Open BIM Analytical Model, the following steps must be followed:
- First, an opening is created in the surface of the enclosure or vertical partition by selecting the "Opening" option in the "Elements" section:
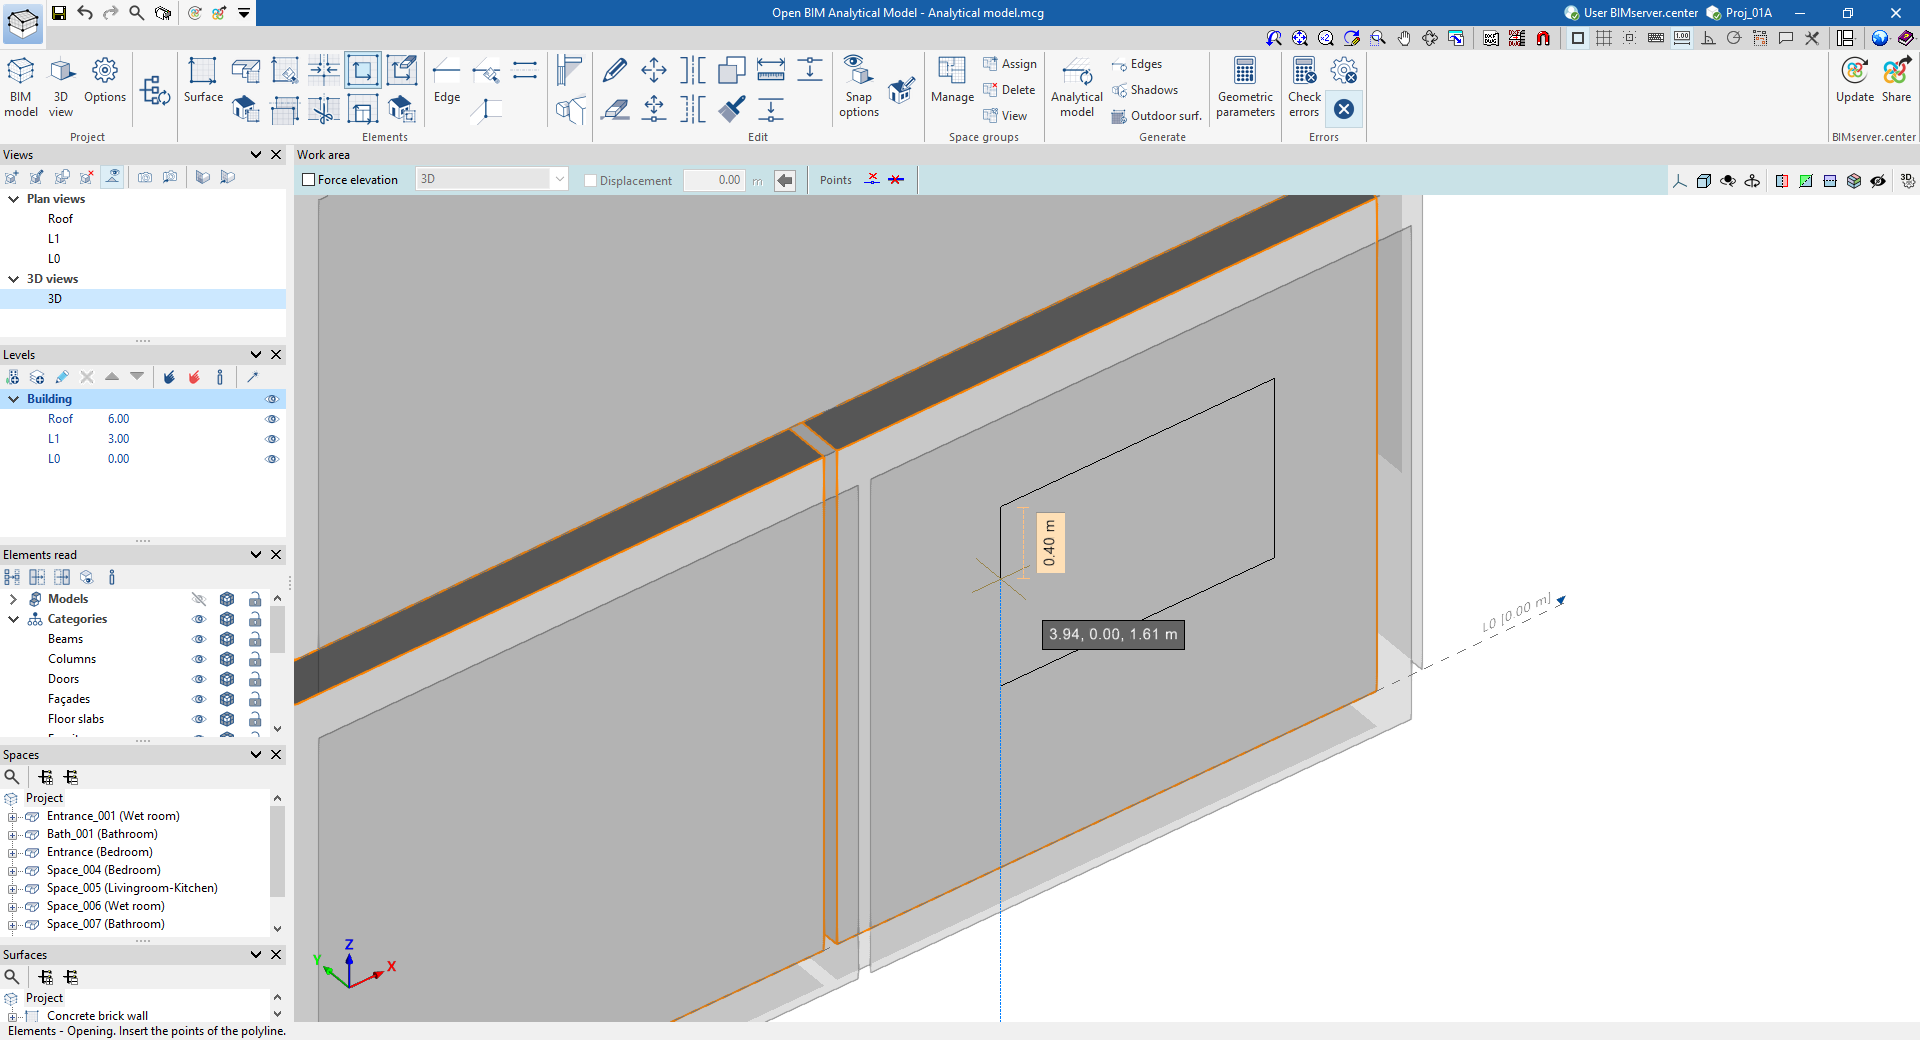
The opening is drawn on the model by snapping the surface of the corresponding partition or enclosure. You can press the Shift key on the keyboard to lock the X, Y or Z directions:
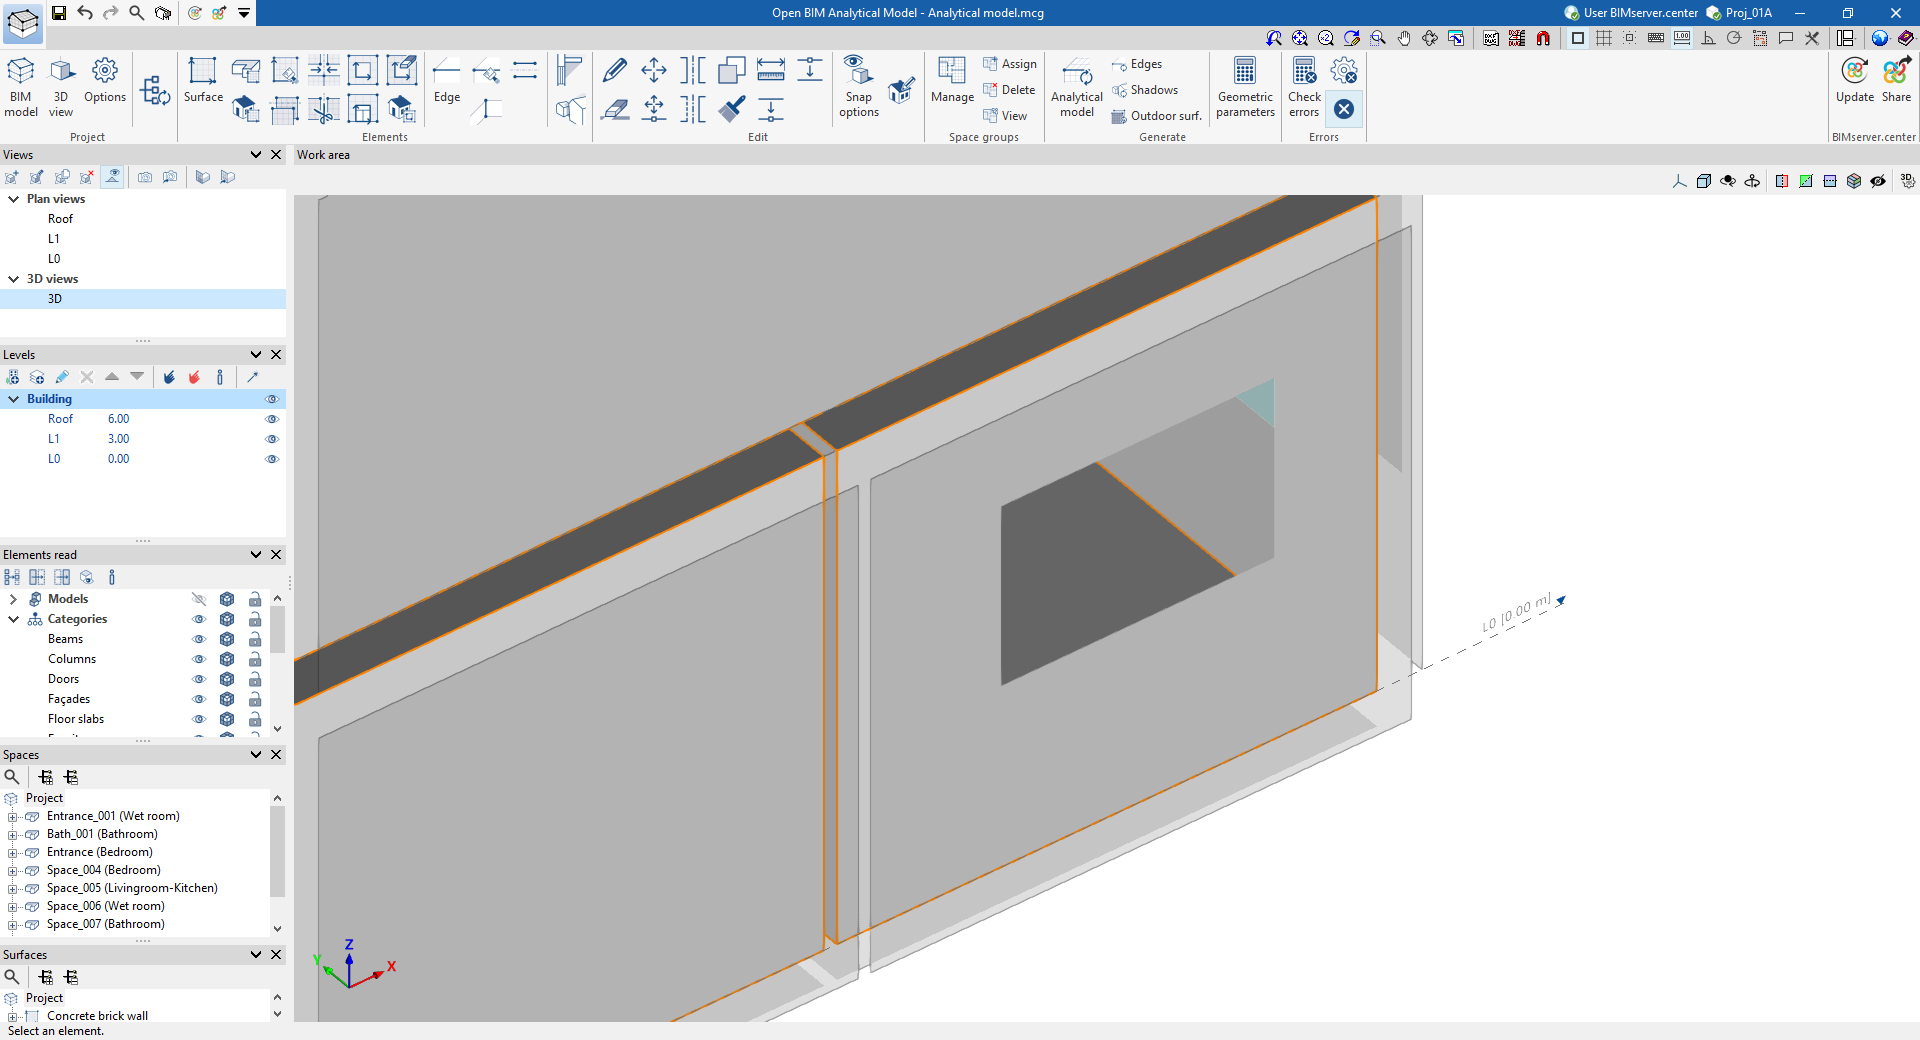
After inserting the opening, it is displayed as follows:
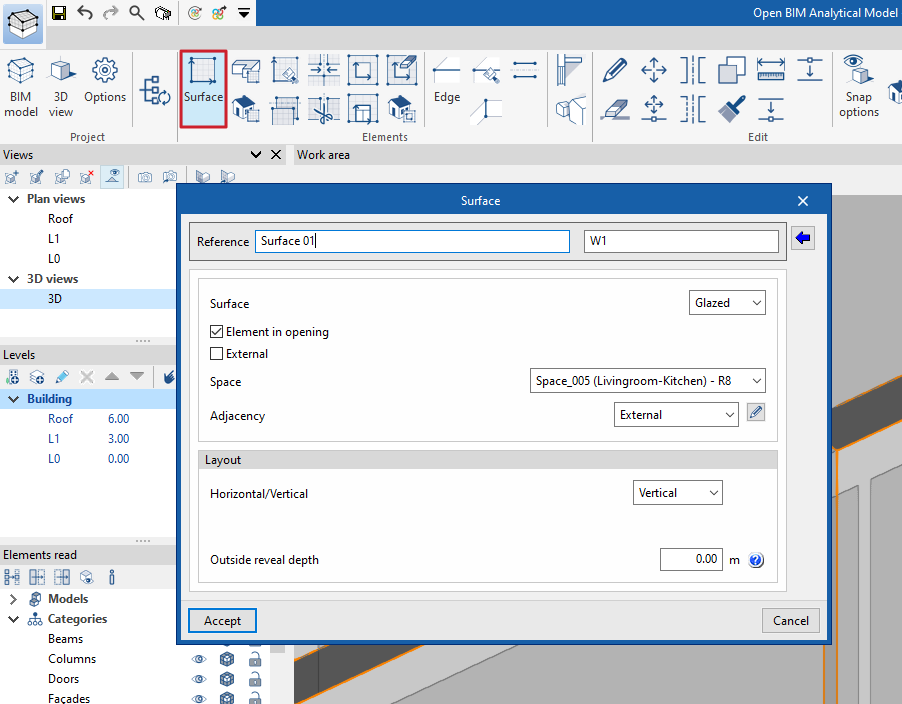
- Then, a surface must be created for that opening, using the "Surface" option in the "Elements" section. In addition to entering a "Reference" for the surface and its associated type in the first fields, you can indicate whether it is "Glazed" in the "Surface" drop-down menu, activate the "Element in opening" box, select the corresponding "Space" and "Adjacency" and define its "Layout".
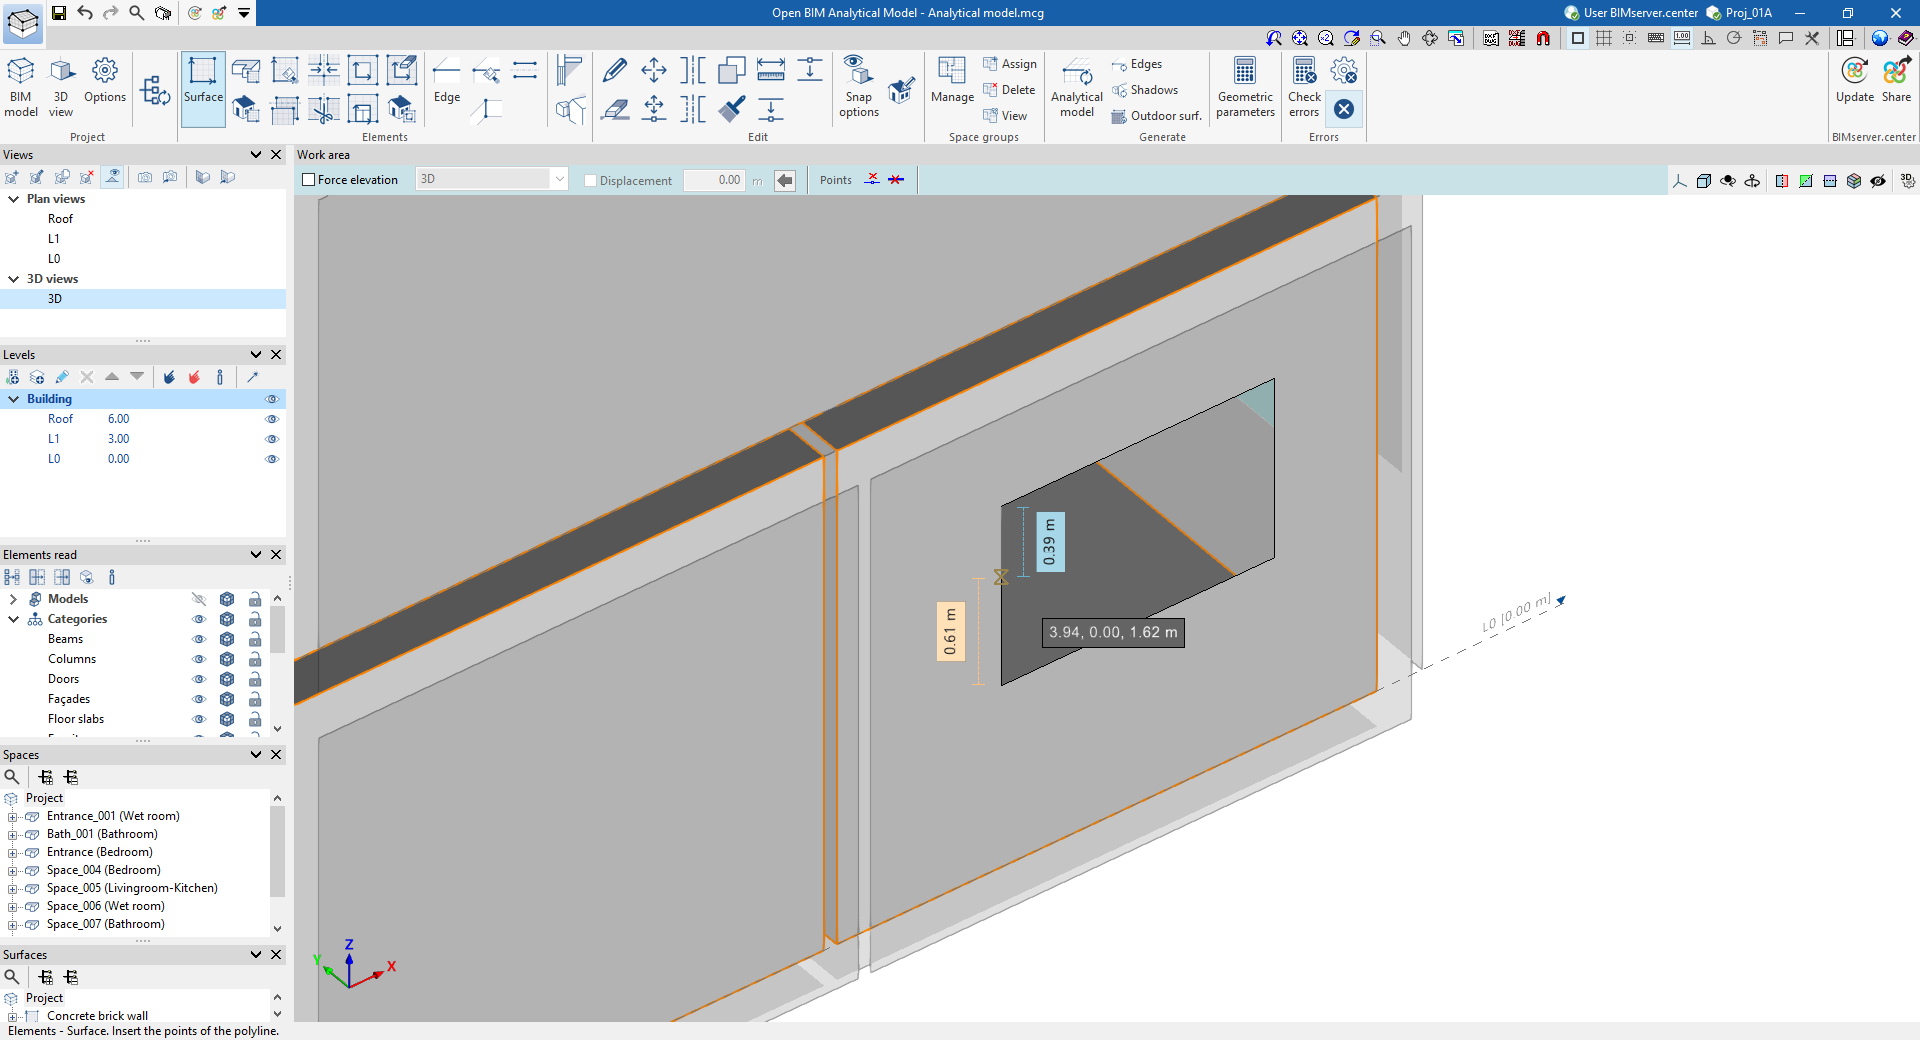
The surface is defined on the model by snapping the same geometry of the previously entered opening:
After entering the surface, it is displayed as follows:

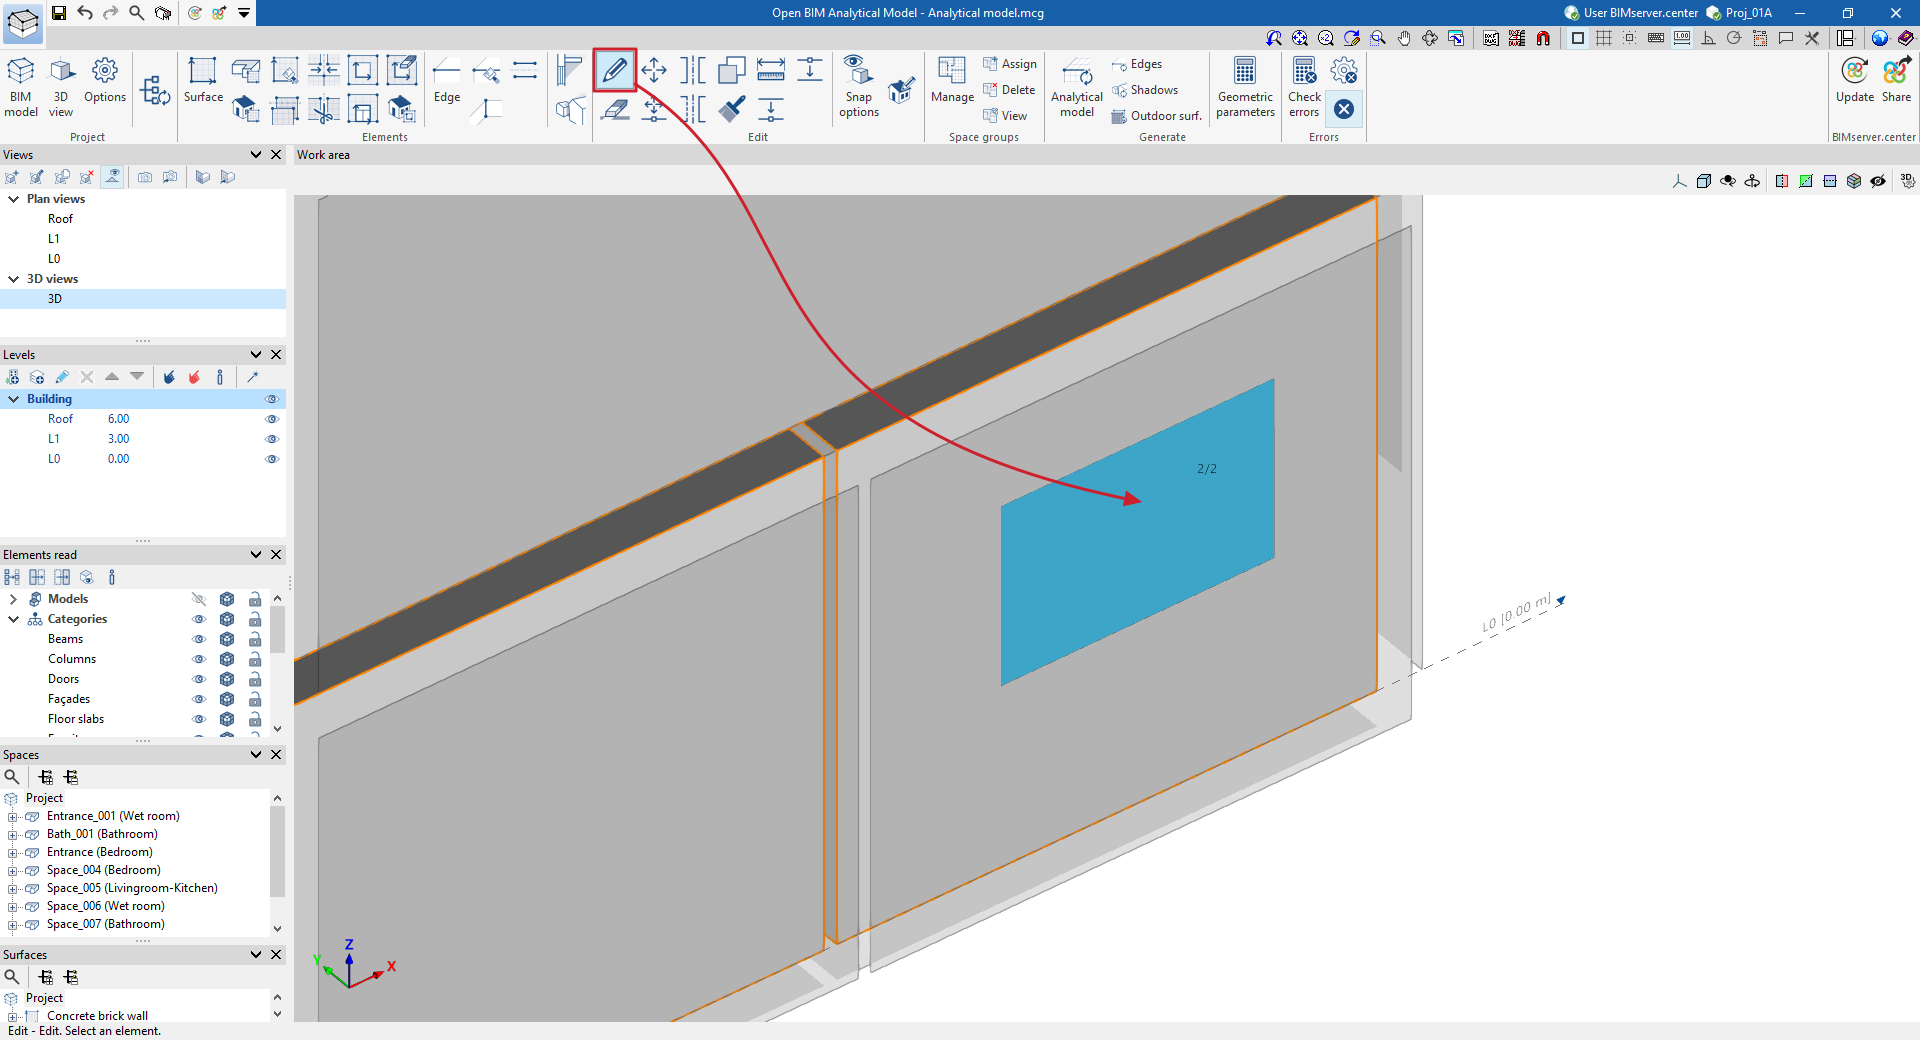
- After this, the previously created opening must be edited and the surface must be assigned to it. To do this, use the "Edit" button in the "Edit" group, move the mouse pointer over the entered elements and press the tab key, alternating the selection between opening and surface (the symbol 1/2, 2/2 is displayed). The opening is then selected:
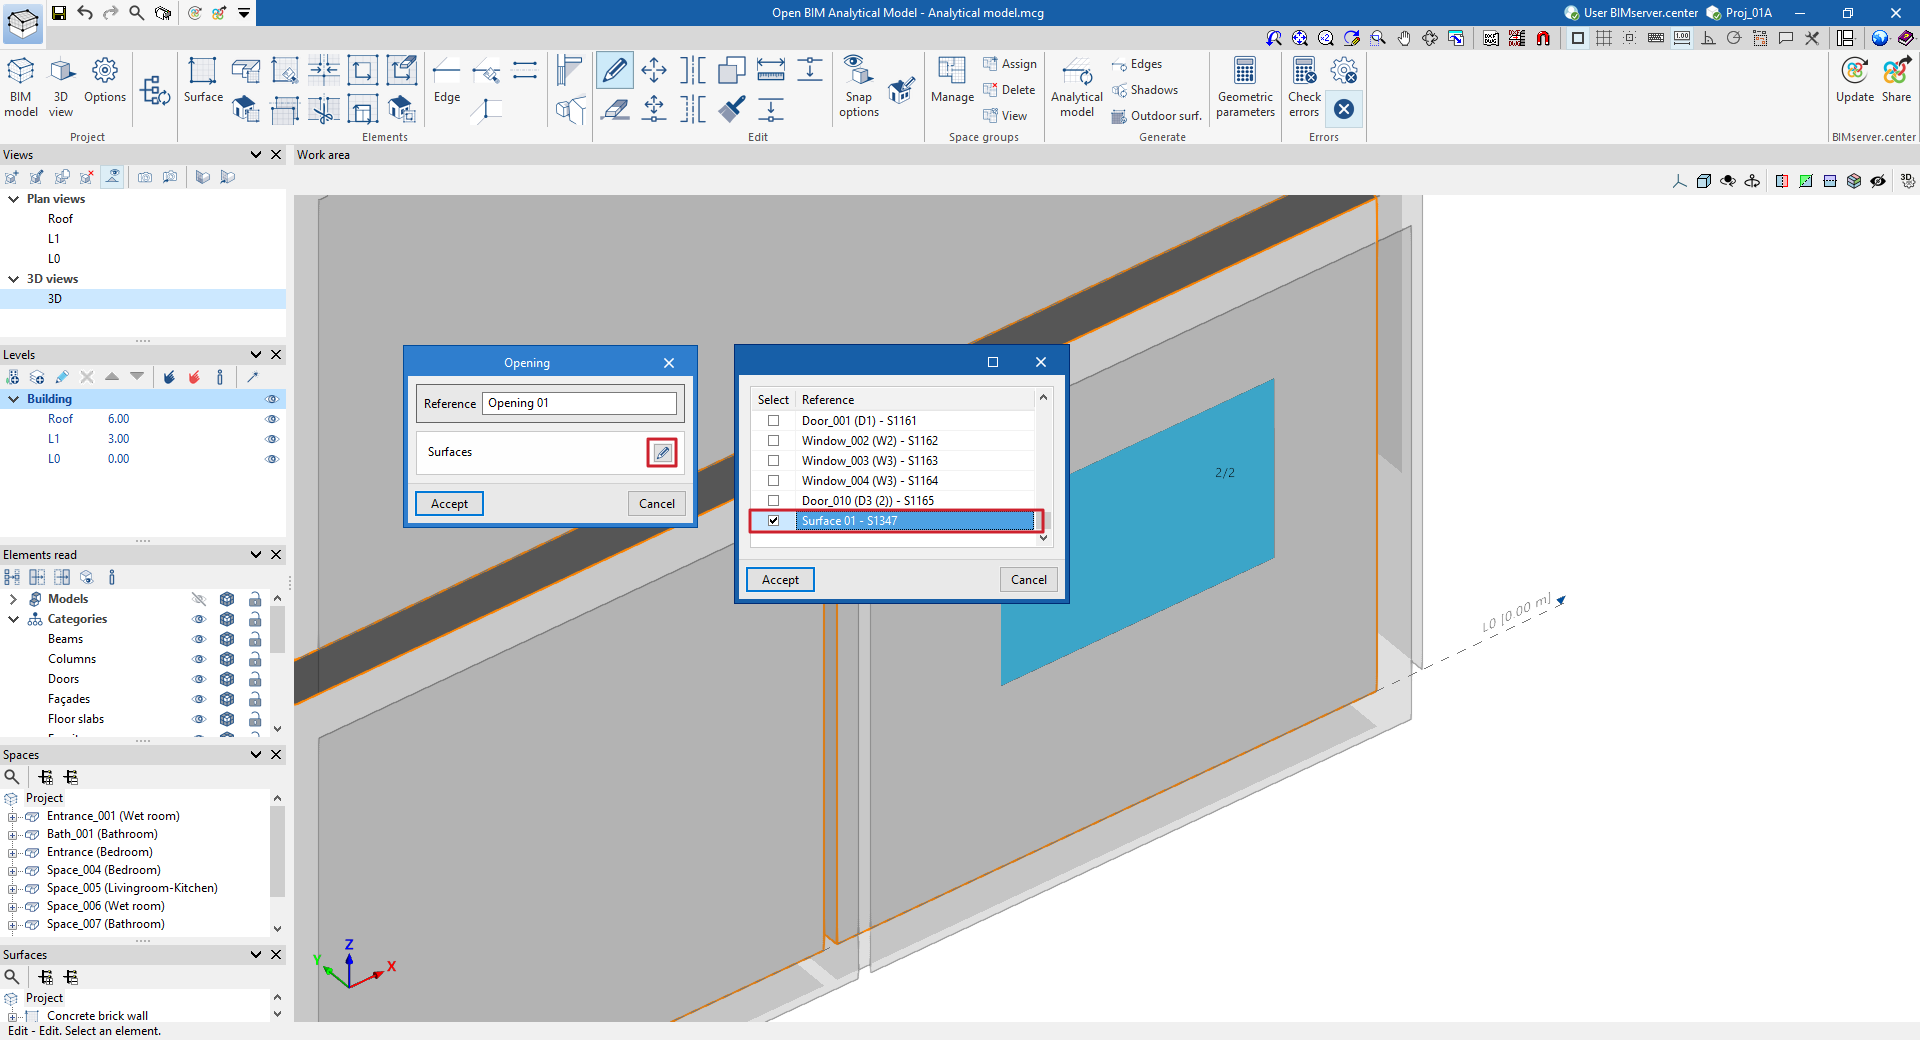
In the opening editing panel, click on the "Surfaces" editing button and select the surface entered in the previous step:
After clicking "Accept", the opening and the surface are finally defined in the model.
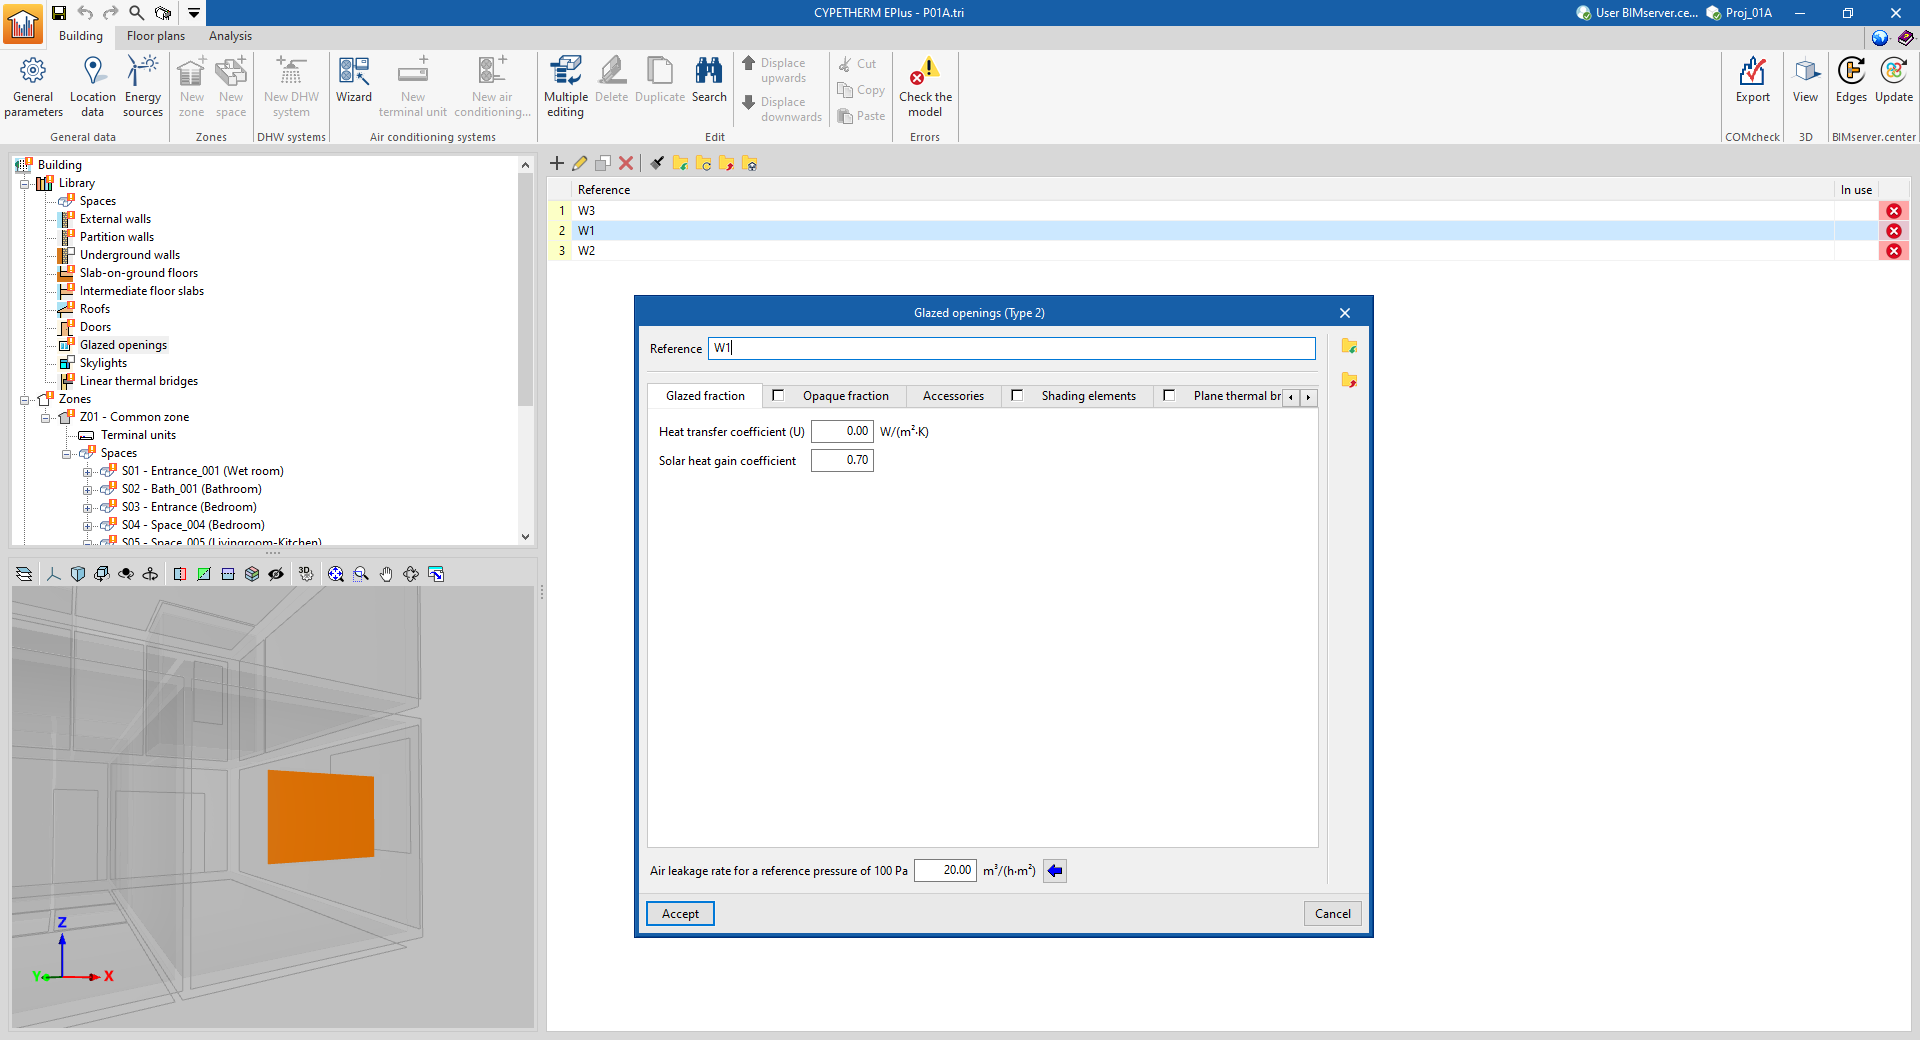
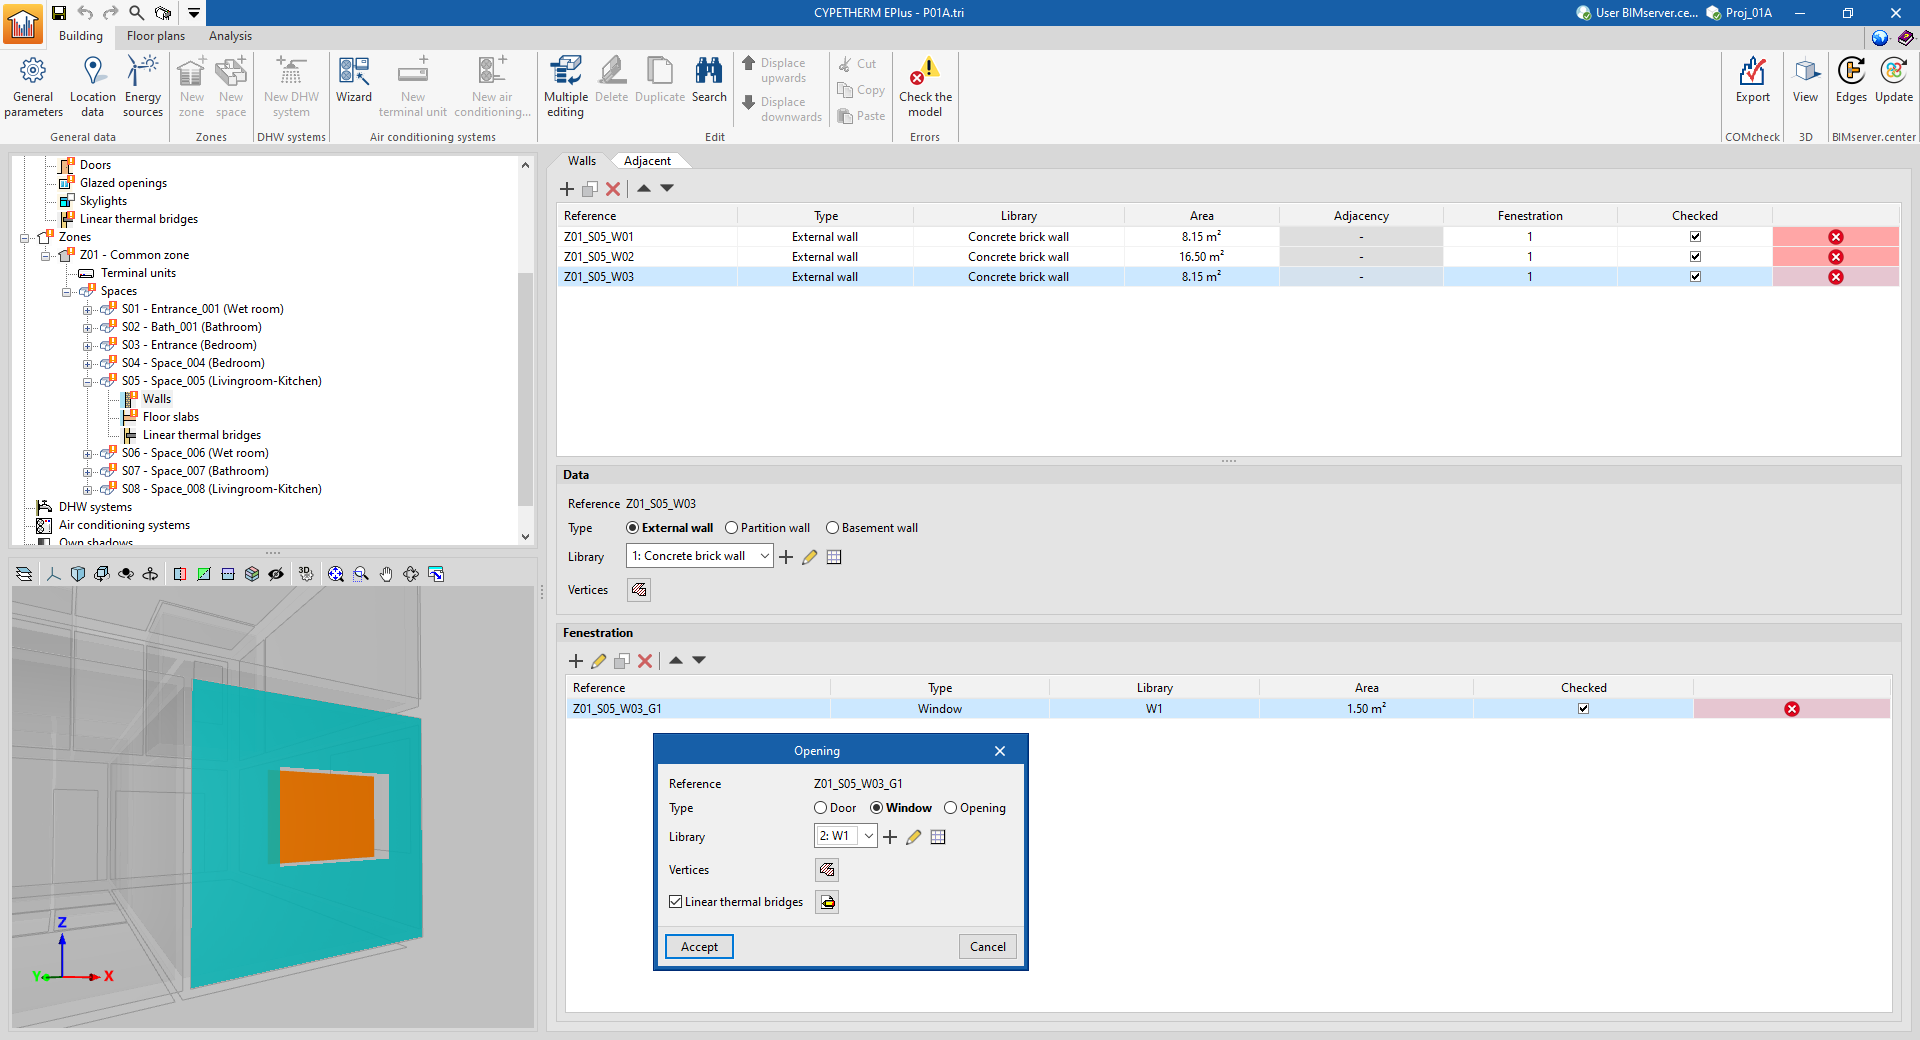
- This way, when exporting to other programs such as CYPETHERM EPlus, the space entered in the tree diagram of zones and spaces will appear above the corresponding space or partition, as well as the type of library created, if applicable: