
One of the options for designing a building water supply is to locate an elevated tank using a gravity flow water supply. This supply method must guarantee that the difference in elevation and the losses of the installation are capable of supplying the appropriate pressure at the consumption points. CYPEPLUMBING Water Systems allows this type of installation to be designed and calculated.
The design can be carried out in several ways. The most common is to bring the water up from ground level to the tank and then supply it from the tank. In this case, the first step is to locate the water supply and water meter pre-installation, if required:
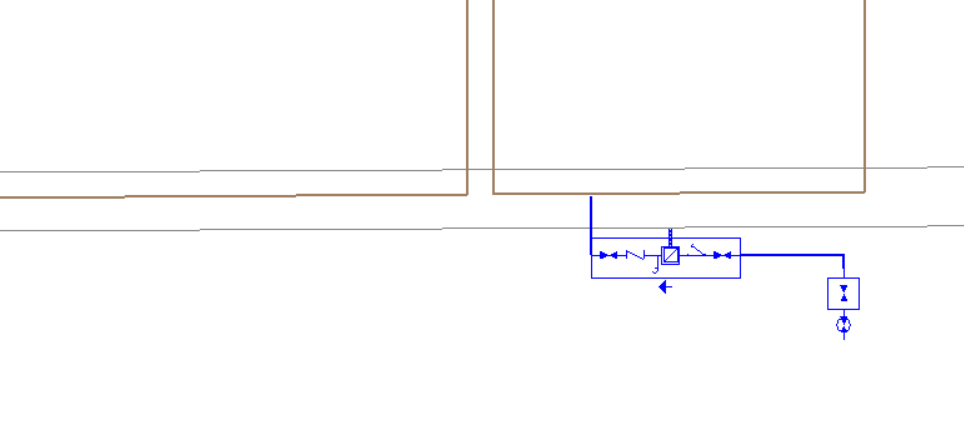
It is assumed that the water supply pressure is not sufficient to supply water directly to the building installation or there is an unstable pressure in the supply network. This is why this alternative supply method is used. Whenever necessary, a water booster set will be entered to bring the water up to the height of the tank in addition to the riser pipe reaching the floor where the storage tank is located:
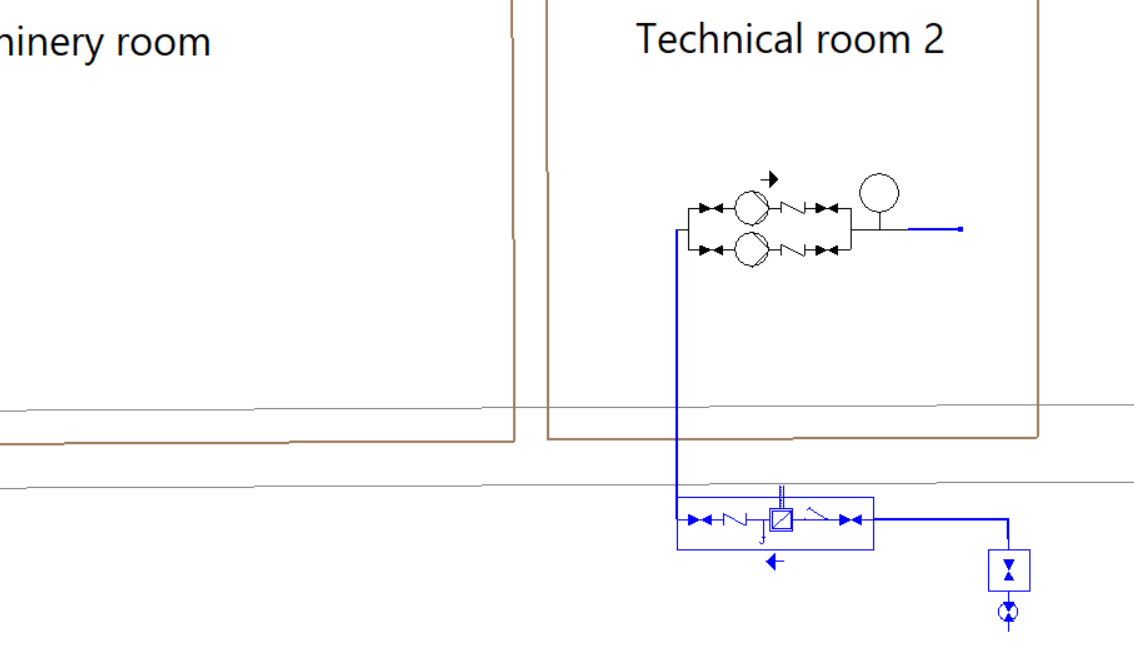
Then, on the floor where the tank will be located, it is inserted and connected to the riser:
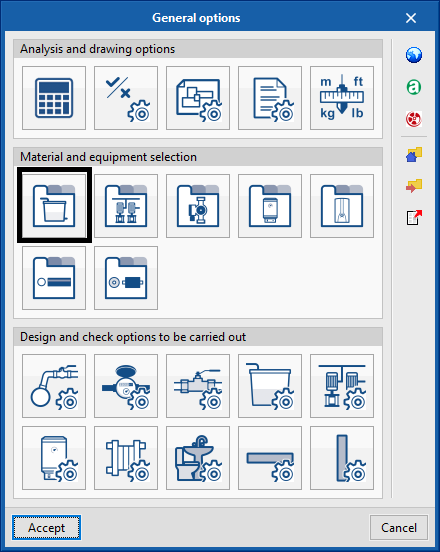
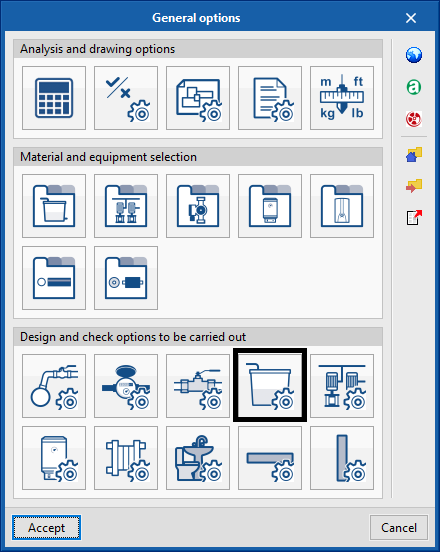
Before entering the tank, the type of tank to be used must be configured. To do this, open the “General options” menu:

Then, in the “Material and equipment selection” section, the “Tanks” option is selected, which allows tanks with different volumes and shapes to be added:
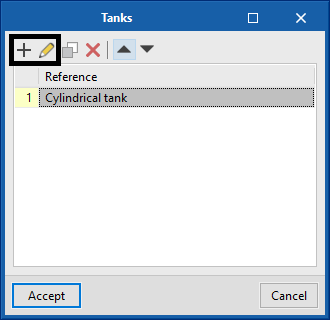
In the “Tanks” pop-up window, new types or edit existing ones can be added:
When adding a new unit, the type of tank must be configured, either “Circular” or “Rectangular“, and all the “Dimension properties” associated to it, creating as many tanks as you wish:

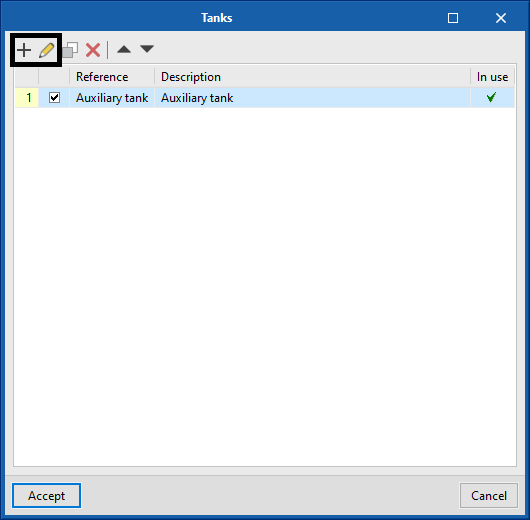
Later on, the tank design models must be created with the “Tanks” option in the “Design and check options to be carried out” menu:
In the pop-up window, new design models can be created or existing ones can be edited:
When creating a new design model, the checks to be carried out can be marked or unmarked, establishing their minimum and maximum values. If the tank needs to be filled to atmospheric pressure, the “Minimum pressure” check option is left unmarked:
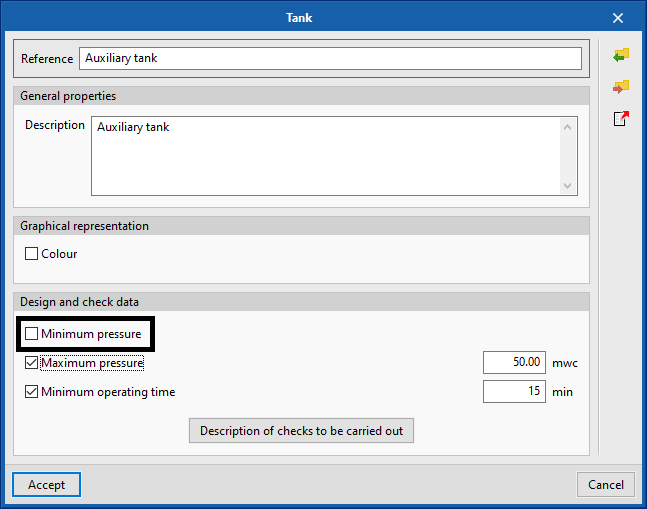
To set a minimum pressure for filling the tank, this option is checked and a value is entered.
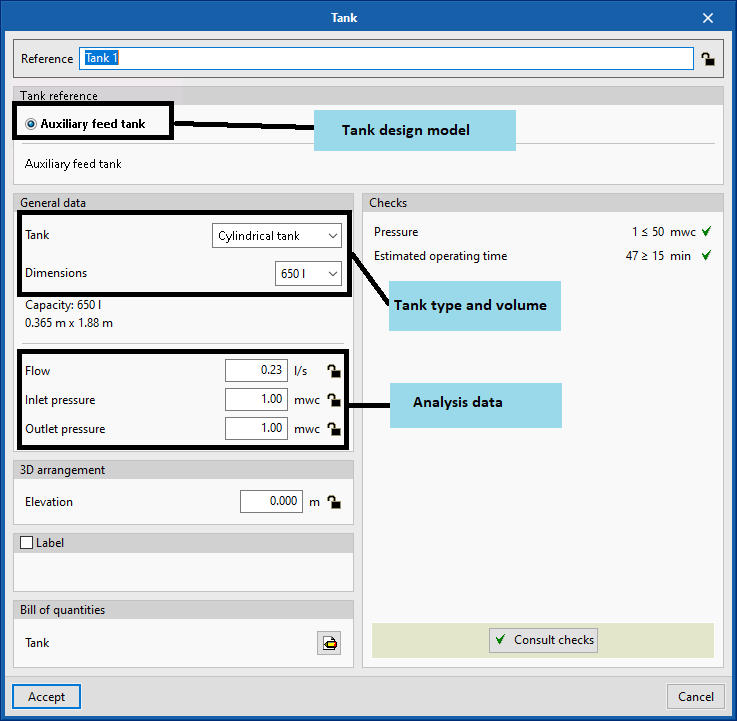
Once these options have been configured, in the window that appears when entering or editing the tank in the model, the tank design model can be chosen in the “Tank reference” section, as well as the type of tank and its dimensions in the “General data” section. As this is an unpressurised gravity tank, an “Outlet pressure” does not need to be set. The default values must be maintained so that the programme can calculate them automatically afterwards:
After entering the tank, another vertical pipe defined as “Riser” is introduced to supply water to the consumption points, selecting its start and end floors. Finally, the remaining network elements are modelled and the installation is analysed or designed:
There are other special situations where it may be necessary to add a tank. For example, if there is a very significant elevation change between two parts of a building and the water supply is at a height above the building, the pressure in the network may not be stable. In this case, the elevated water supply is directly connected to a tank located at the same height. Once the tank has been entered, the modelling of the rest of the installation is carried out following the same steps.