Creating a virtual disk or drive in Windows 7, 8, 8.1 and 10 no longer requires the use of external applications, just a few simple steps.
Creating a virtual drive
Under “Start -> Search programs and files, type in diskmgmt.msc”. The Disk Management window will open. Another way to access this window is by right-clicking on “PC” and then on “Manage”. The Computer Management window will open and then Disk Management can be accessed.
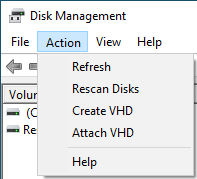
In the Disk Management window, click on the “Action” menu and then on “Create VHD”.
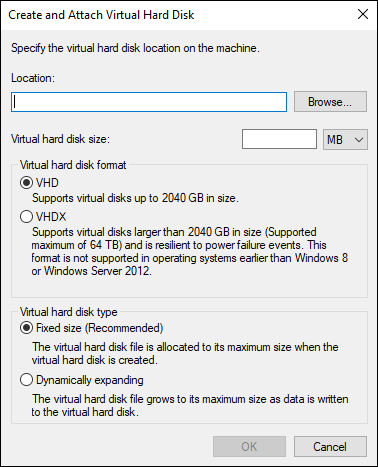
The location of the virtual disk is specified in this new window, to do this, click on "Browse" and select the folder (a new one should be created), assign a name to the file and save it, thus creating the virtual hard disk as a VHD file extension.
The next step is to specify the capacity for the virtual hard disk in the "Virtual disk size" field, by typing in a figure in MB (megabytes), GB (gigabytes) or TR (terabytes).
Next, the format of the disk is specified, either “Dynamically expanding” or “Fixed size”. Windows 7, 8, 8.1 and 10 recommend the “Fixed size” option. The corresponding option is chosen and the window is accepted.
At this point, the creation process will begin, after which the virtual hard disk will be visible in the Disk Manager.
Assigning volume to the disk
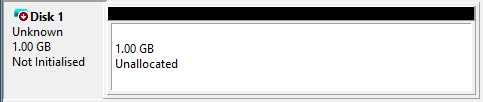
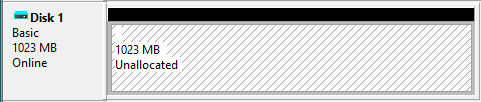
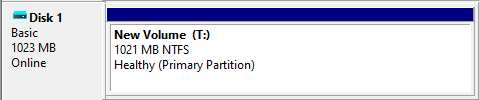
As shown in the figure above, the disk has already been created, but a volume or label must be assigned to it, i.e. a letter that does not coincide with any other physical or virtual unit on the system. To do this, right-click on the part where "Disk Unknown" is displayed and choose the "Initialise disk" option, which will display the following window:
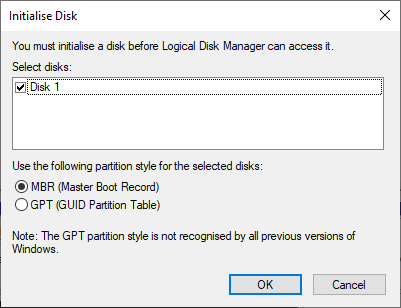
Select the “MBR” or “GPT” partition style and accept the dialogue box. Now, the virtual disk will no longer be displayed as “Unknown” but as “Basic”.
Lastly, right-click on the section where "Unallocated" is shown and select the "New simple volume" option. This will open a wizard:
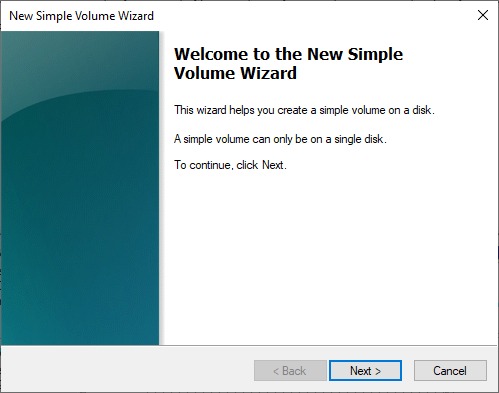
Where the following steps will be carried out:
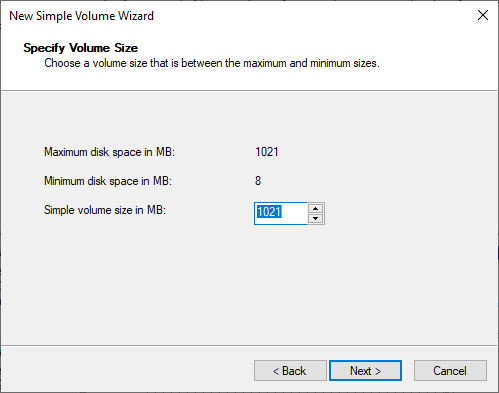
- The final size of the drive (the same size chosen when creating the VHD should be chosen) is set.
- The drive letter or path is assigned:
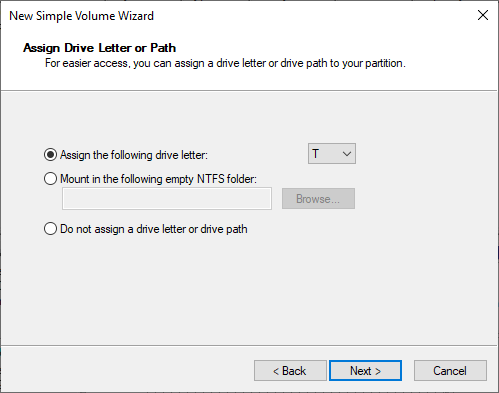
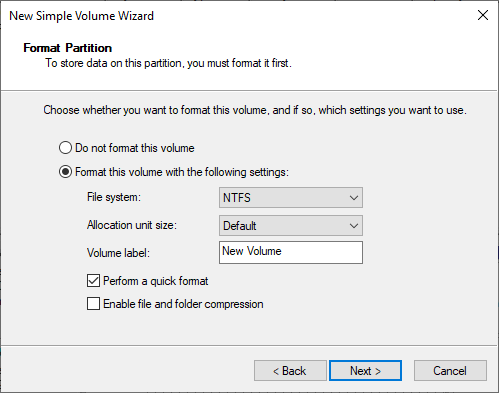
- Whether or not the partition is formatted, and a name or label is defined for the new unit.
- Lastly, the wizard is finished:
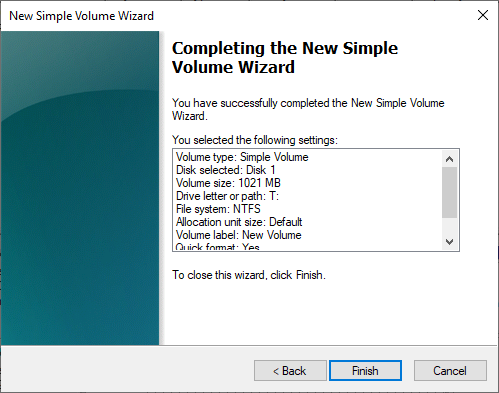
The definition of the virtual hard disk is now complete.
Automatically start the virtual disk when booting
Windows 7, 8, 8.1 and 10 do not automatically start the virtual hard disk every time the computer is booted, so Disk Management would have to be accessed again and the VHD would have to be selected each time. To avoid this, a .bat file can be created to perform this task automatically. The process is as follows:
1.1. A .txt file is created in Notepad with the following:
seselect vdisk file=C:\Path\VirtualDiskx.vhd
attach vdisk
exit
2. Another .bat file is created in Notepad. To do this, the File -> Save option is used and in “Type”, “All files” is selected, allowing the .bat extension to be included in the file name. The contents of the file will be as follows:
diskpart /s C:\Path\previous_text_file.txt
NOTE: the text shown in bold in the described files means that each user must change the locations of the virtual disk and the text file for their own particular case in the aforementioned commands.
3. Finally, this .bat file can be run each time the computer is booted in order to start the disk or a shortcut of this file can be created and located in “Start -> All programs -> Startup” to run this file when starting Windows 7, 8, 8.1 and 10.