

From version 2021.f, the structural analysis software CYPECAD and CYPE 3D is able to export the information regarding the forces analysed at the ends of steel elements (integrated 3D structures’ beams, columns and bars) so they can be used in the connection design for CYPE Connect and StruBIM Steel.
The process for exporting information from CYPECAD or CYPE 3D and importing it into CYPE Connect is as follows:
Signing up to BIMserver.center and installing CYPE Connect
The first step, if you have not already done so, is signing up and creating an account at BIMserver.center. This web platform, developed by CYPE, allows information to be exchanged between programs. Signing up is free and only requires an email address and password.
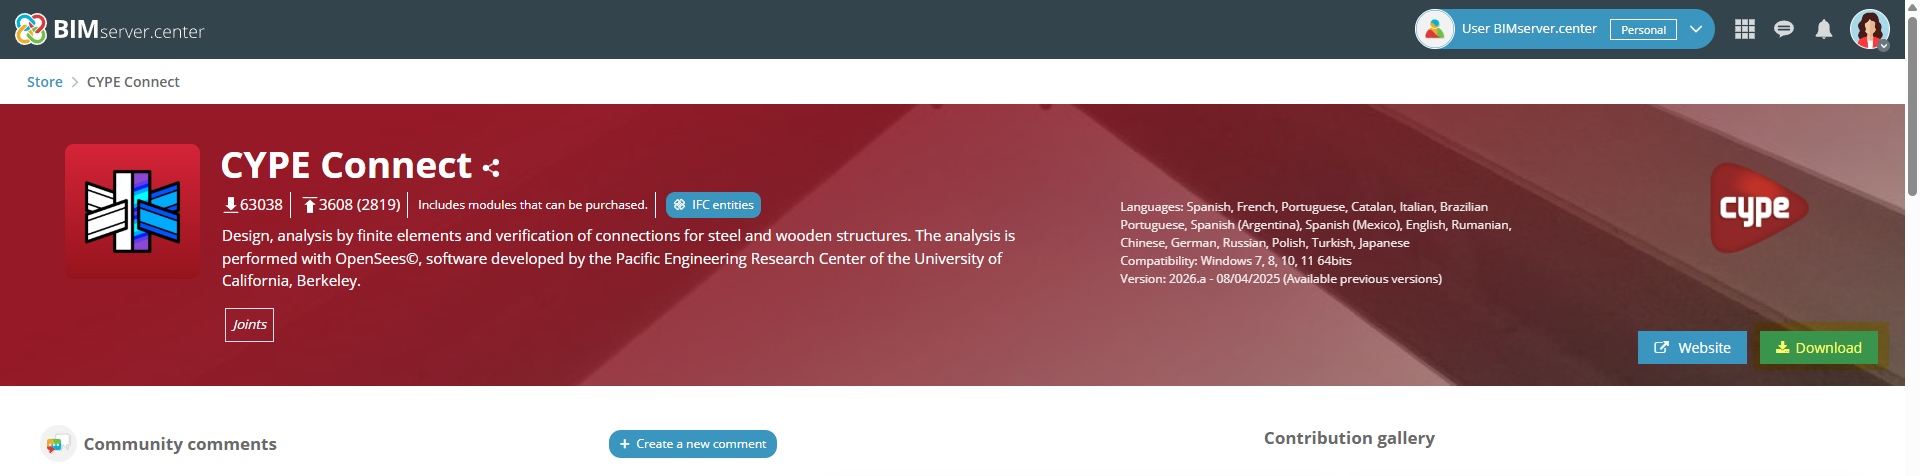
Then, download and install CYPE Connect from BIMserver.center Store. It can be accessed directly by clicking here.
Exporting from CYPECAD to BIMserver.center
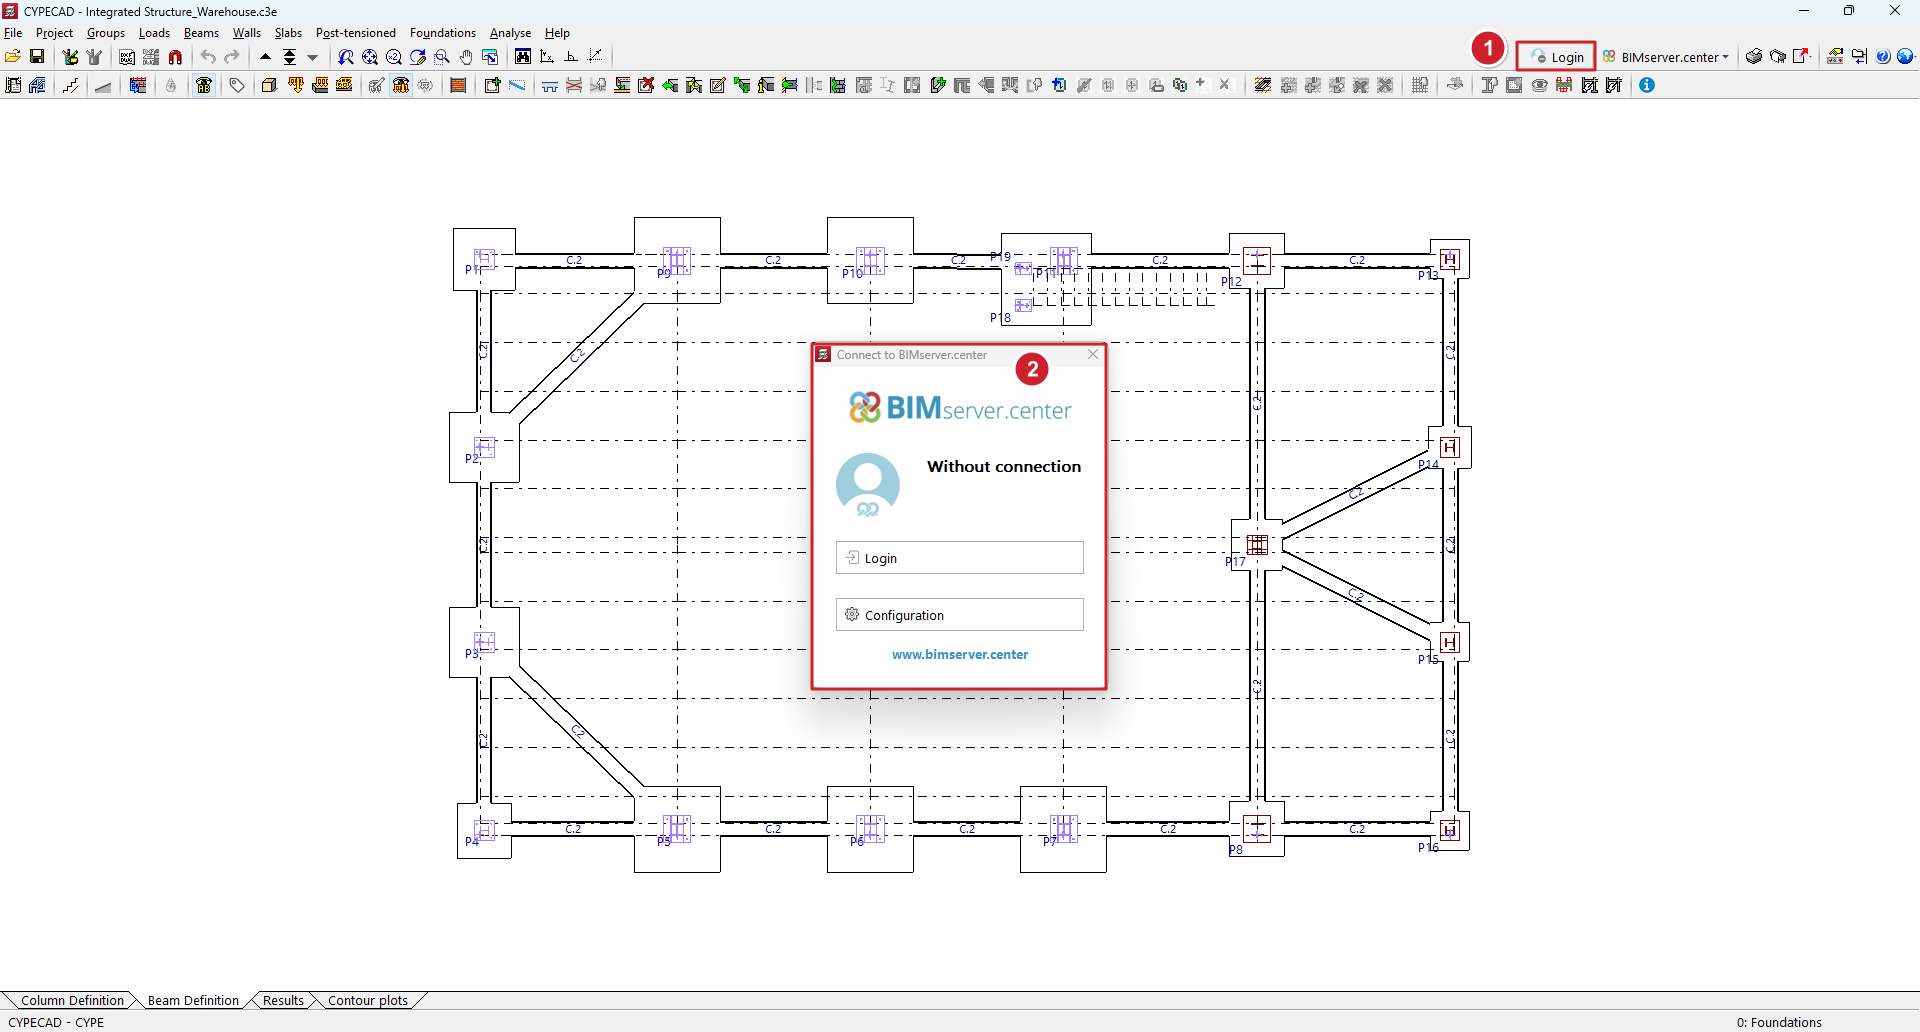
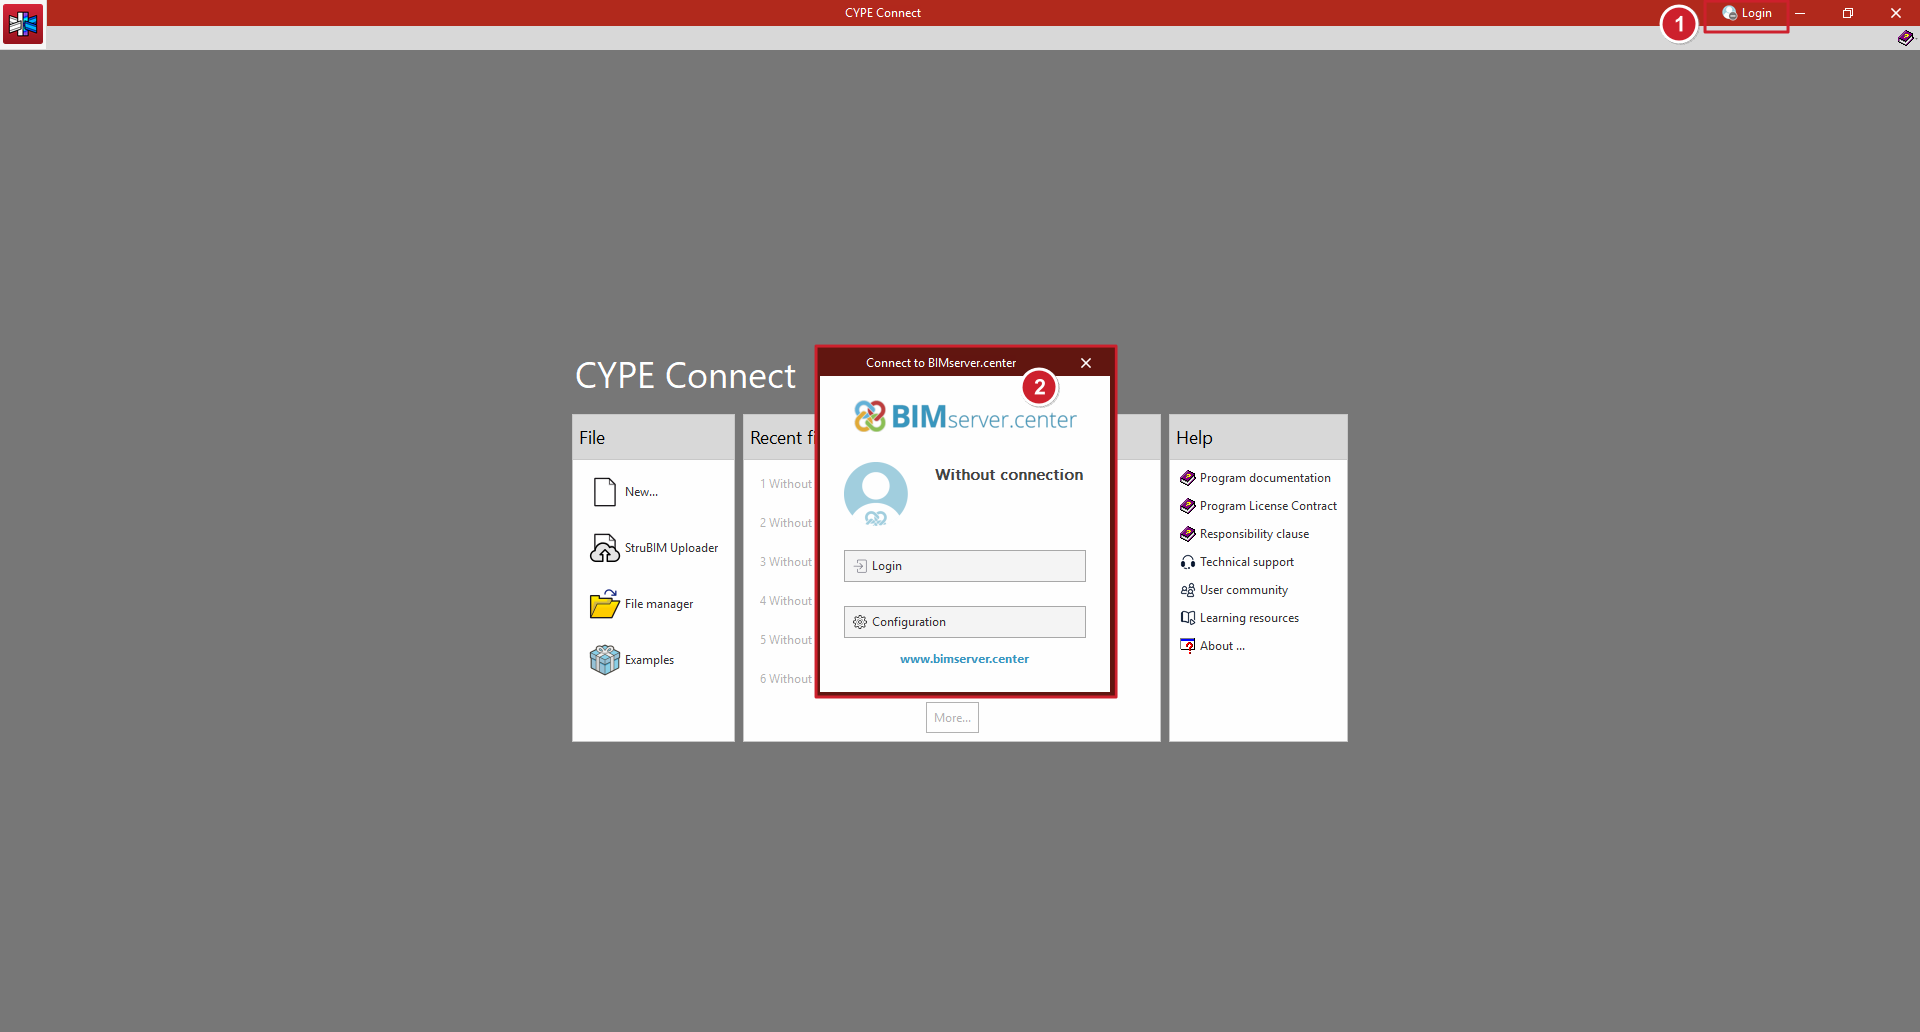
Then, run either CYPECAD or CYPE 3D. Again, users must log in to the BIMserver.center account, this can be done in two different ways:
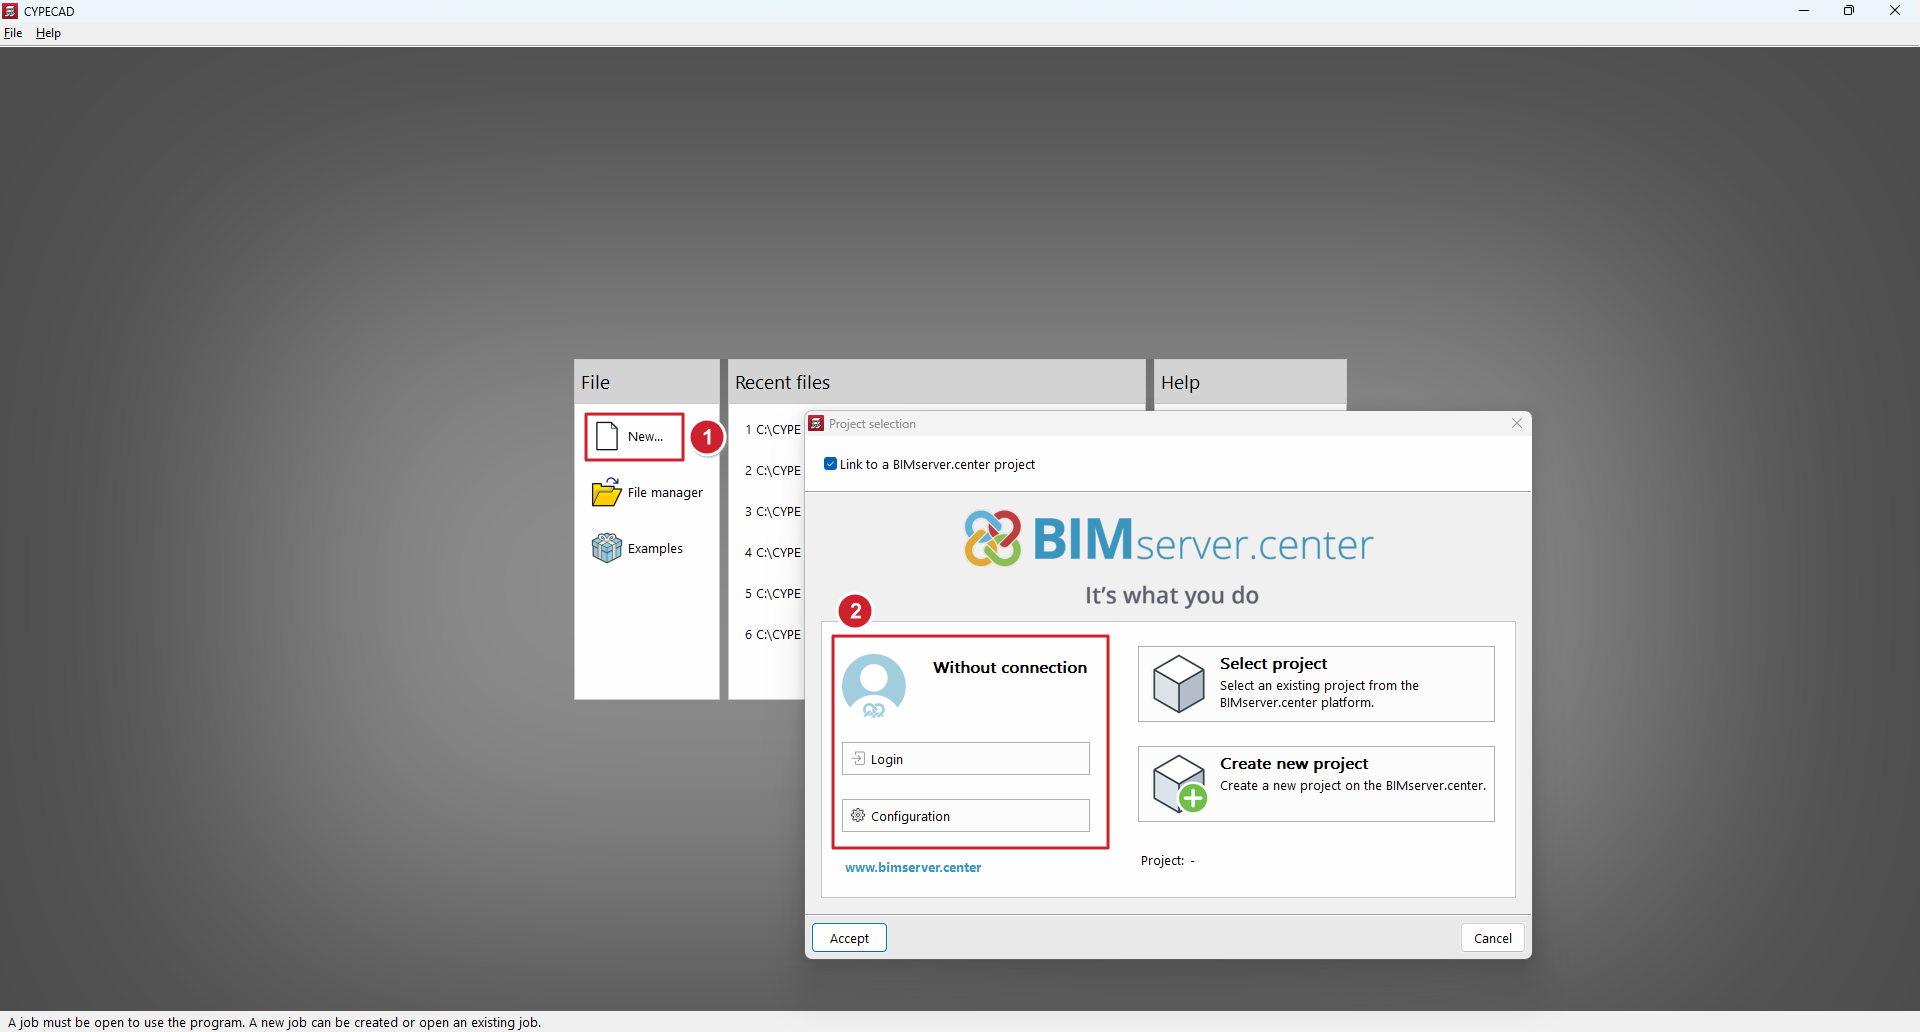
1. When creating a new project, the "Project selection" window is displayed, where users can log in with their "E-mail" and "Password".
2. In a project, click on the "Connect" button at the top right of the toolbar and type in the "E-mail" and "Password" in the pop-up window.
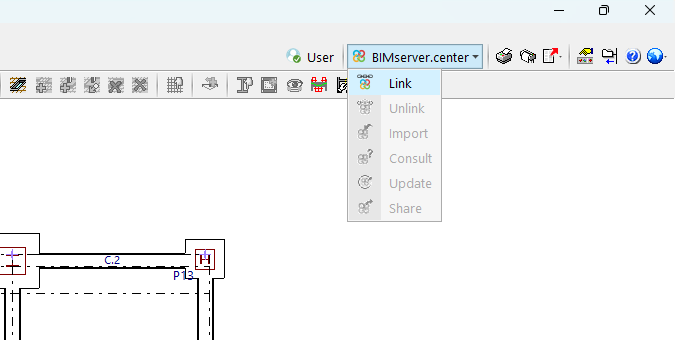
From the BIMserver.center menu, use the “Link” option. In CYPECAD, this menu is located at the top right-hand side:
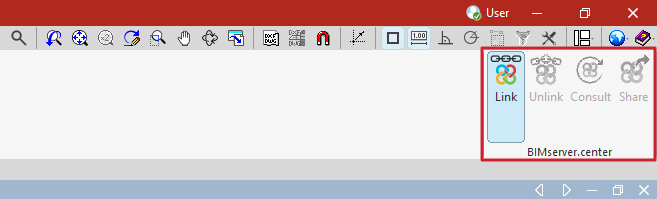
In CYPE 3D, the BIMserver.center menu is located at the top:
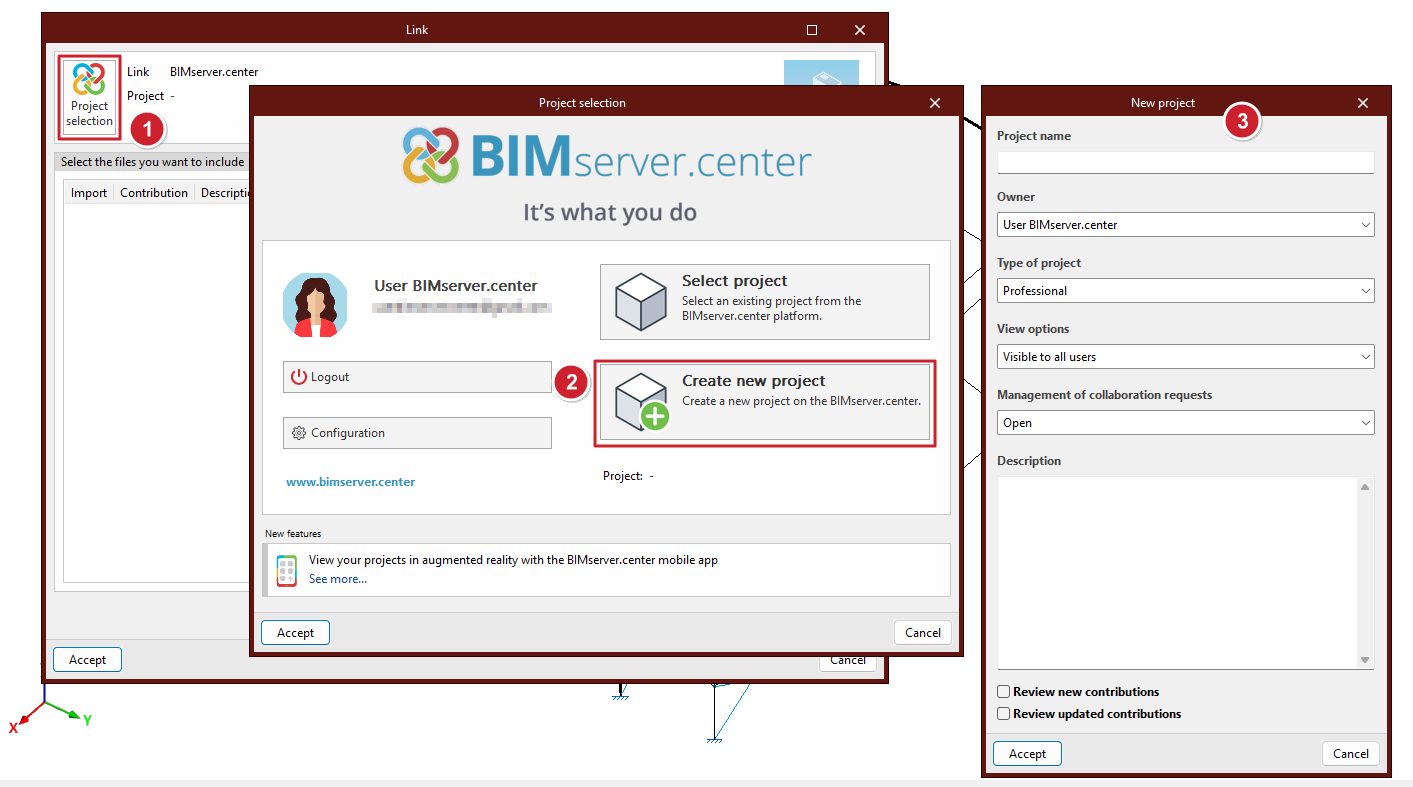
Next, click on “Project selection”. You can select a previously created BIMserver.center project or use “Create new project” to do so at this point:
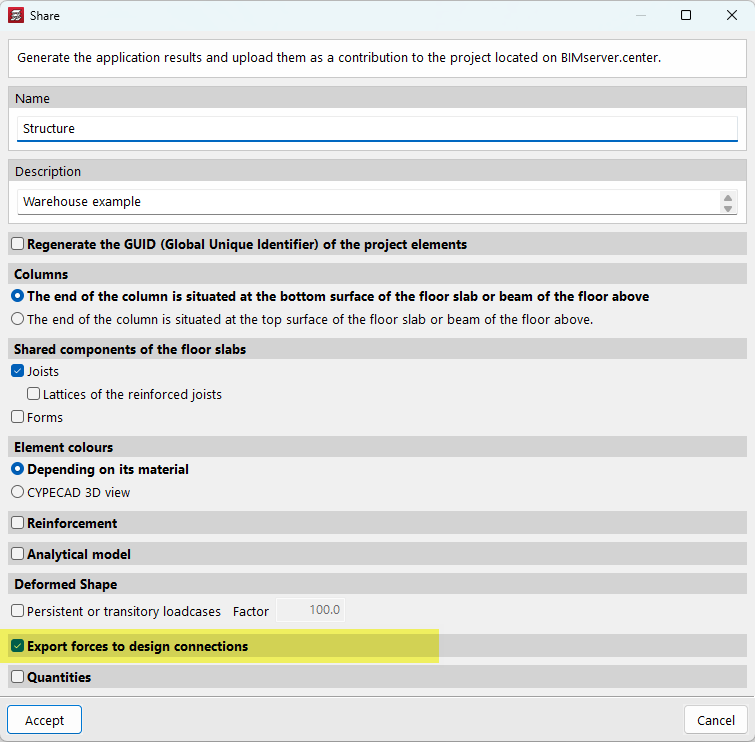
EIn the window for exporting the file in IFC format, check the “Export forces to design connections” option:
Importing into CYPE Connect
Run CYPE Connect. A button with the BIMserver.center user name appears on the right-hand side of the title bar. If the user is logged out, click on "Connect" and enter the "E-mail" and "Password" in the pop-up window.
Open a “New” project in CYPE Connect. In the “Import of BIM models” assistant, select the previously created BIMserver.center project.
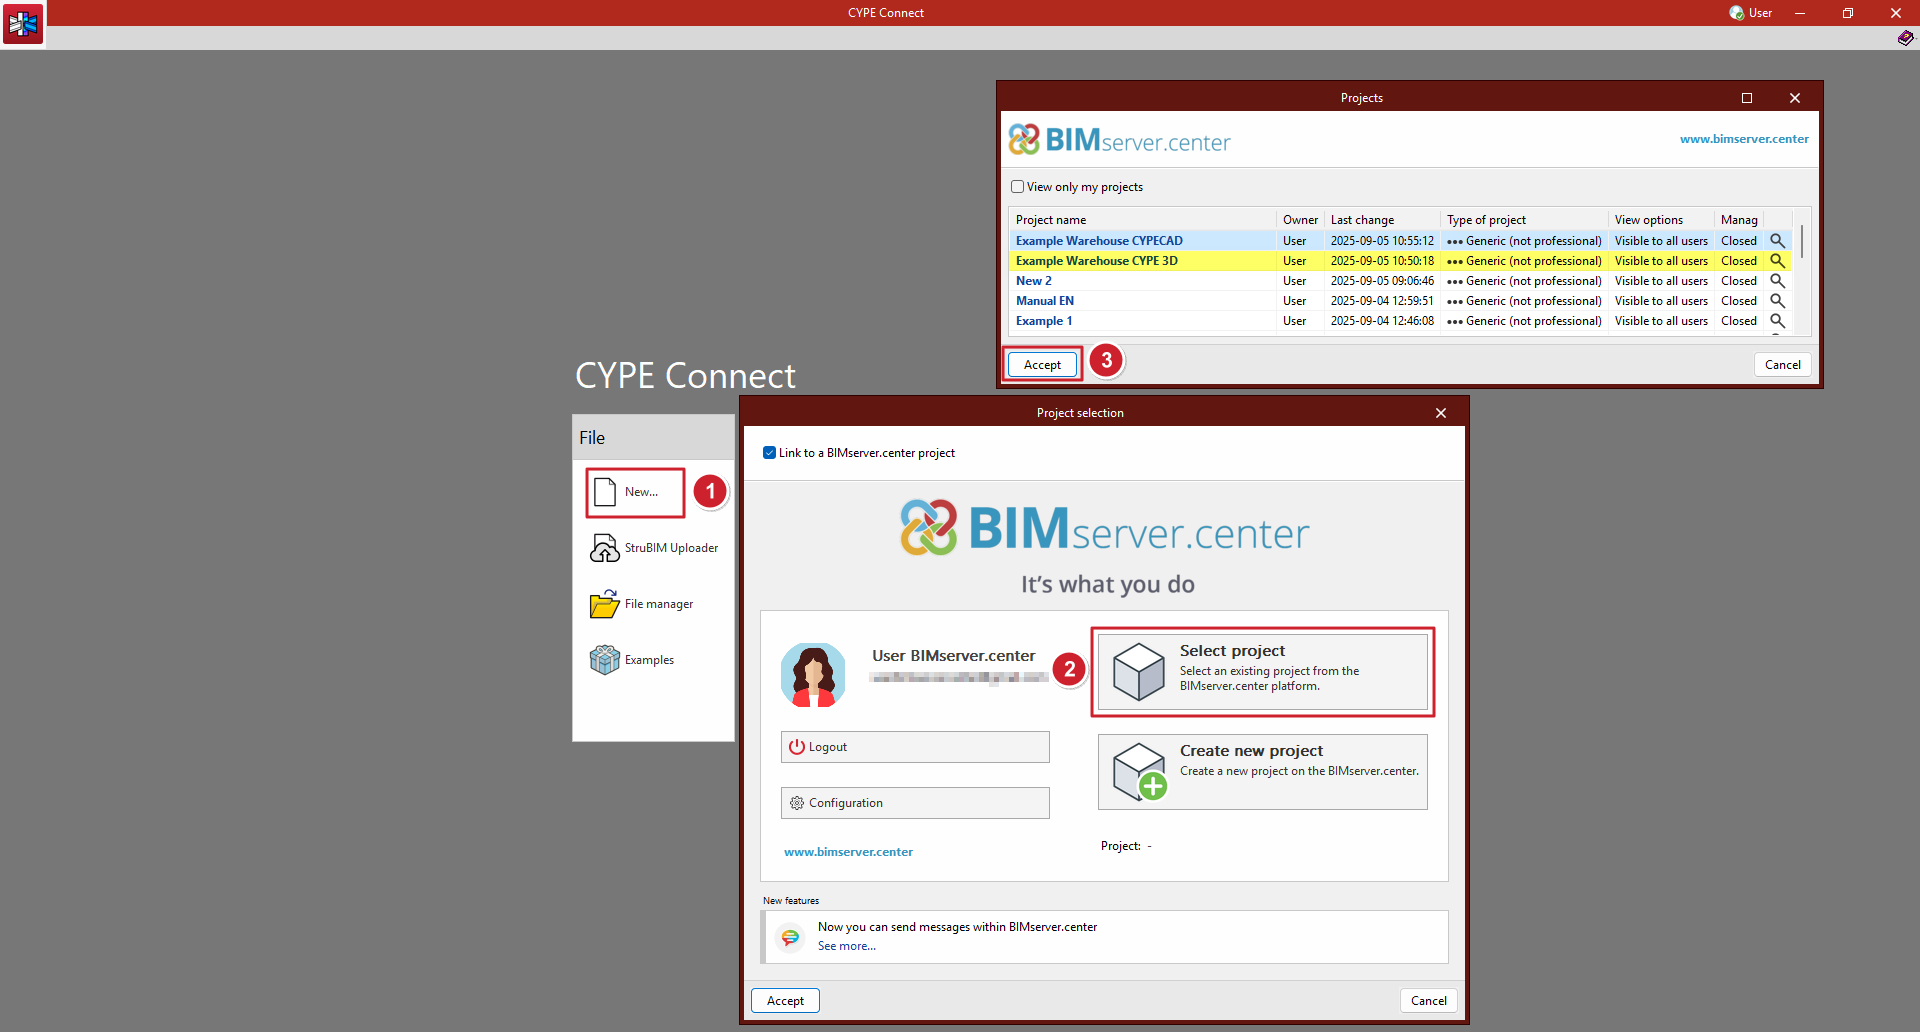
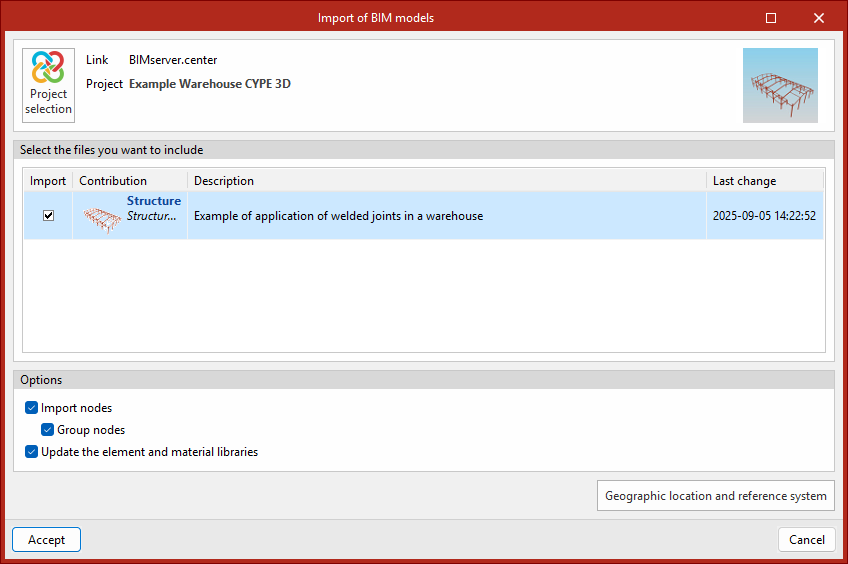
After clicking "Accept", select the file to import from the desired app and confirm the import by clicking "Accept".
After the importation process, the nodes will appear on the left-hand side of the CYPE Connect interface.

The forces analysed in CYPECAD or CYPE 3D will be available when the modelling and design of the connections are carried out:
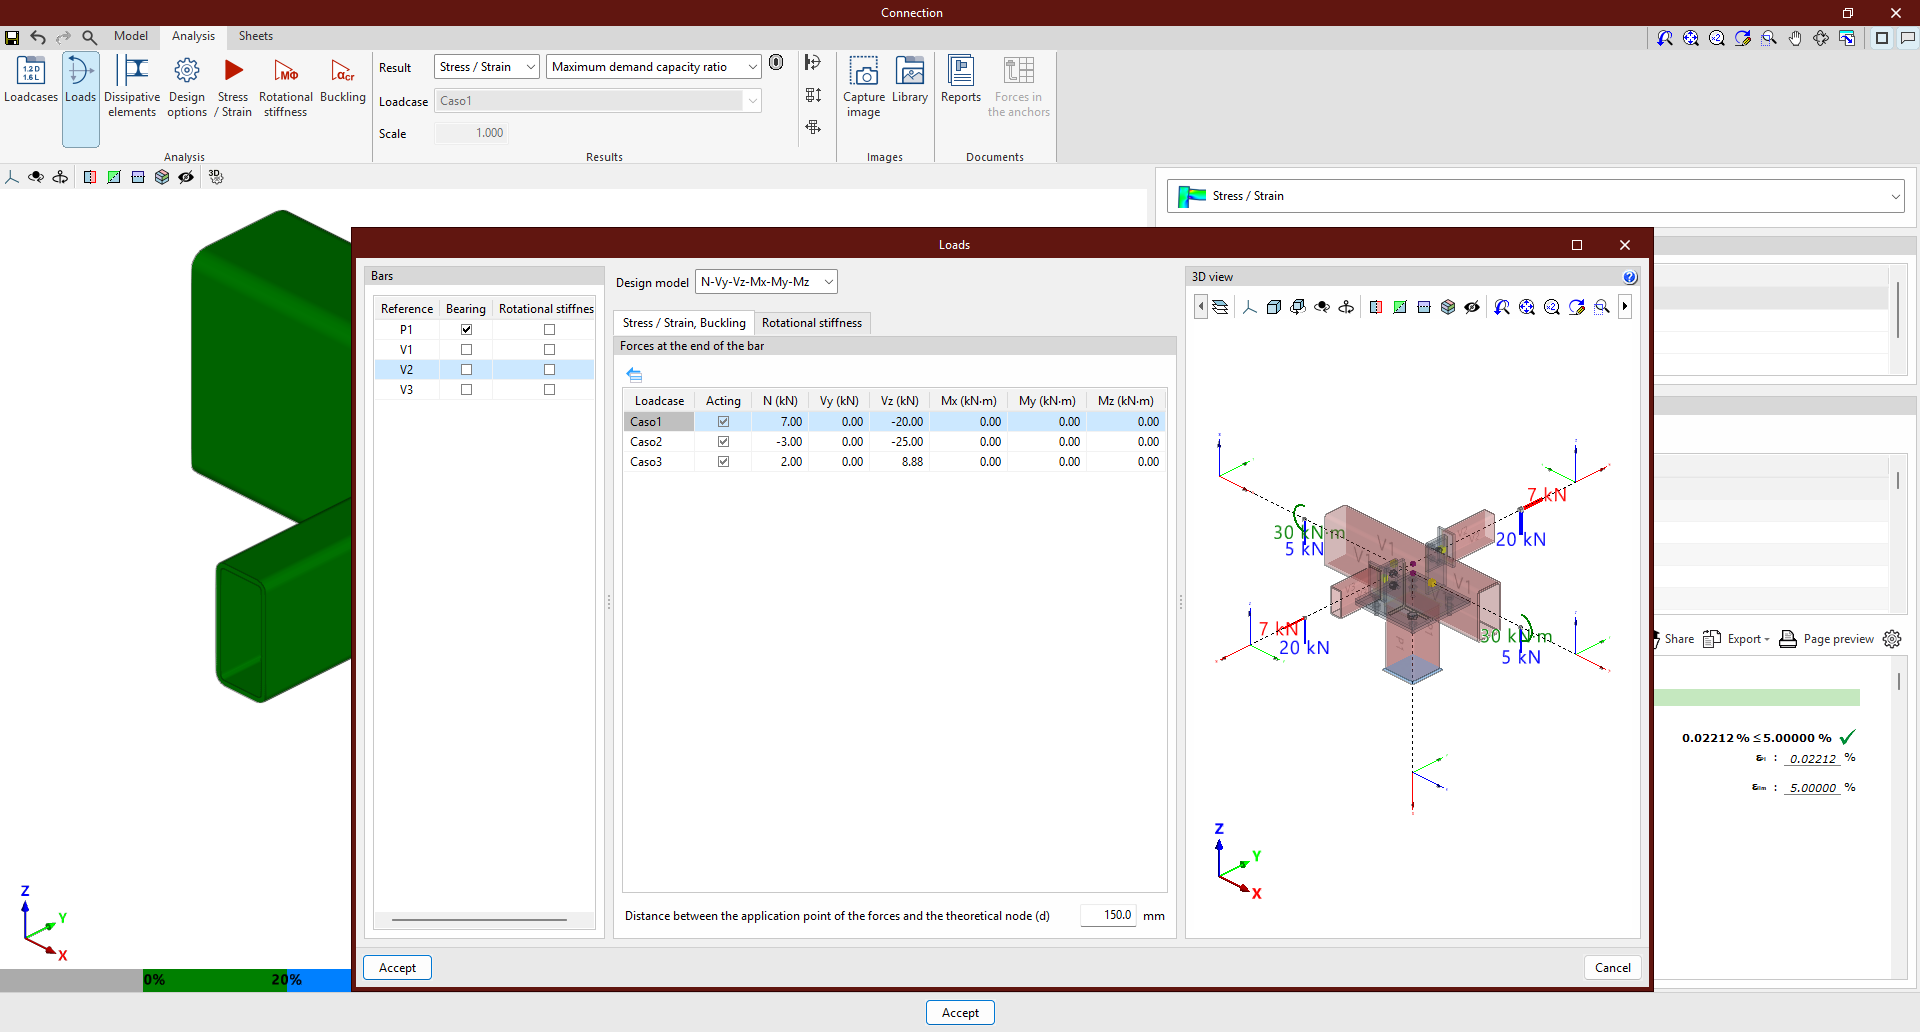
From this point on, users can use the rest of the CYPE Connect features to complete the connection design.
More information
The aforementioned process can be seen in the following videos.
Exporting from CYPECAD
Importing into CYPE Connect