This tutorial will explain the steps for registering, downloading and installing BIMserver.center apps.
- Register on BIMserver.center
- Sign in to BIMserver.center
- Download BIMserver.center apps
- Install BIMserver.center apps
1. Register on BIMserver.center
First of all, users must register on the platform. To do this, they must proceed as described below:
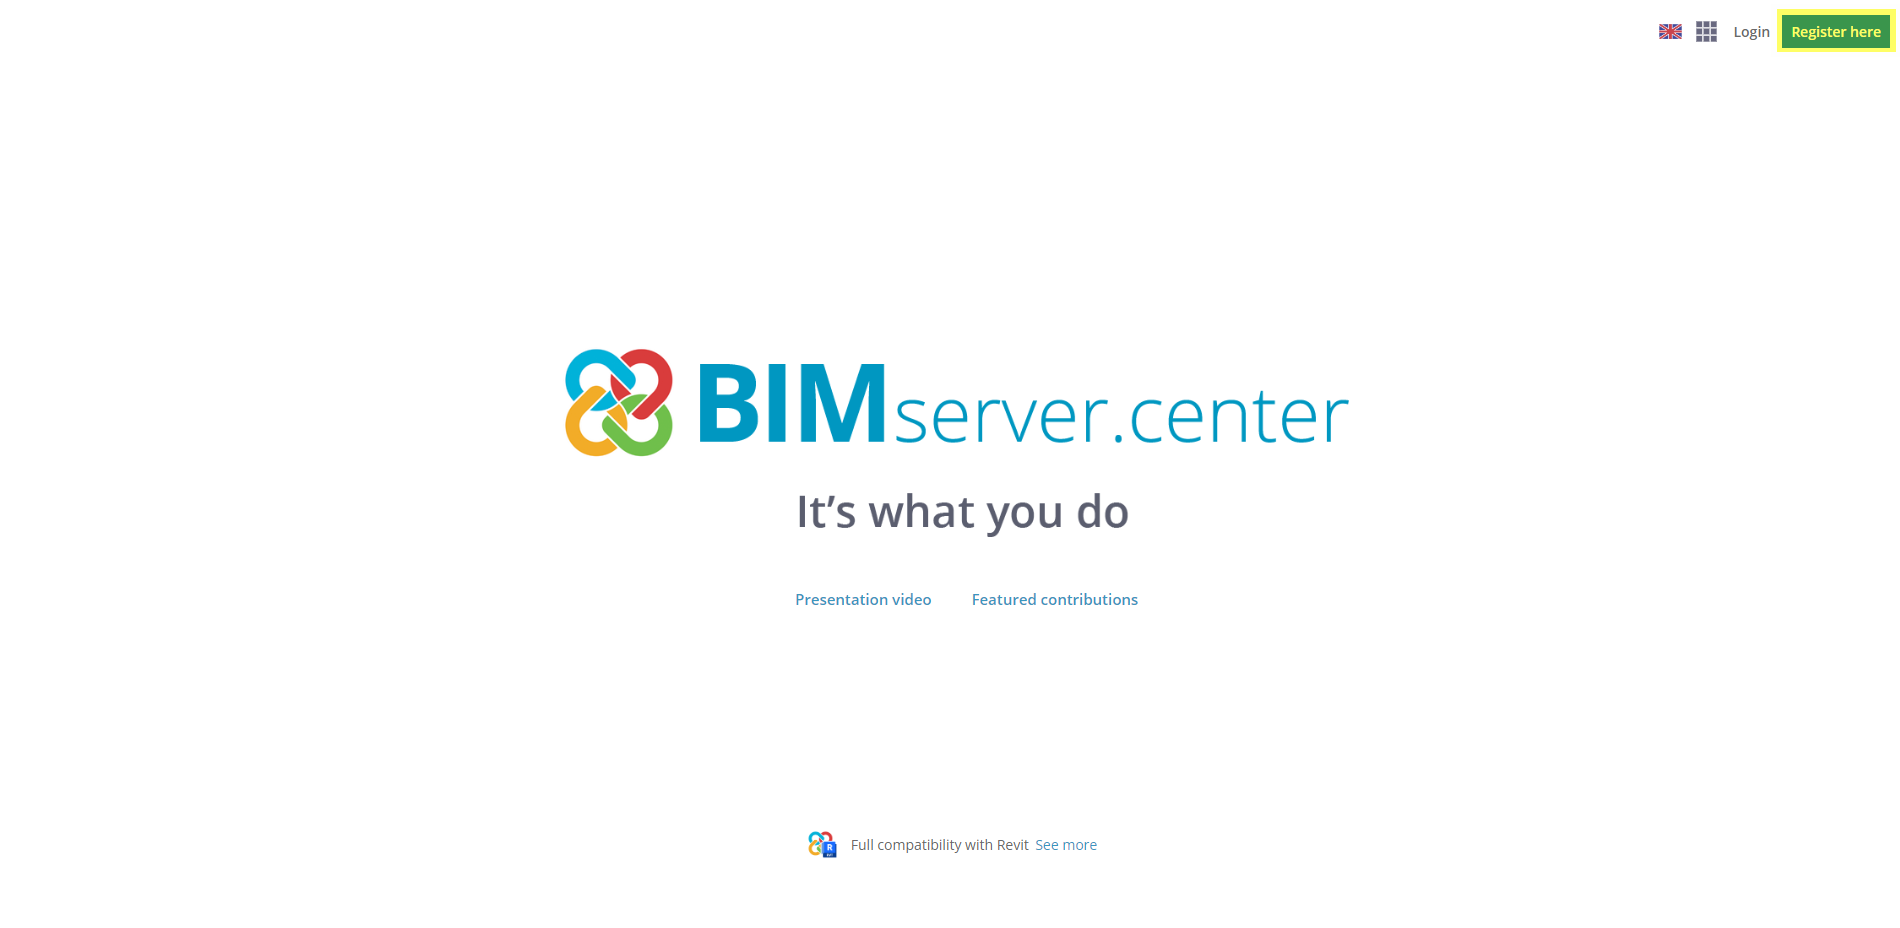
- Access BIMserver.center from the web browser.
- Click on “Register here” in the top right-hand corner.
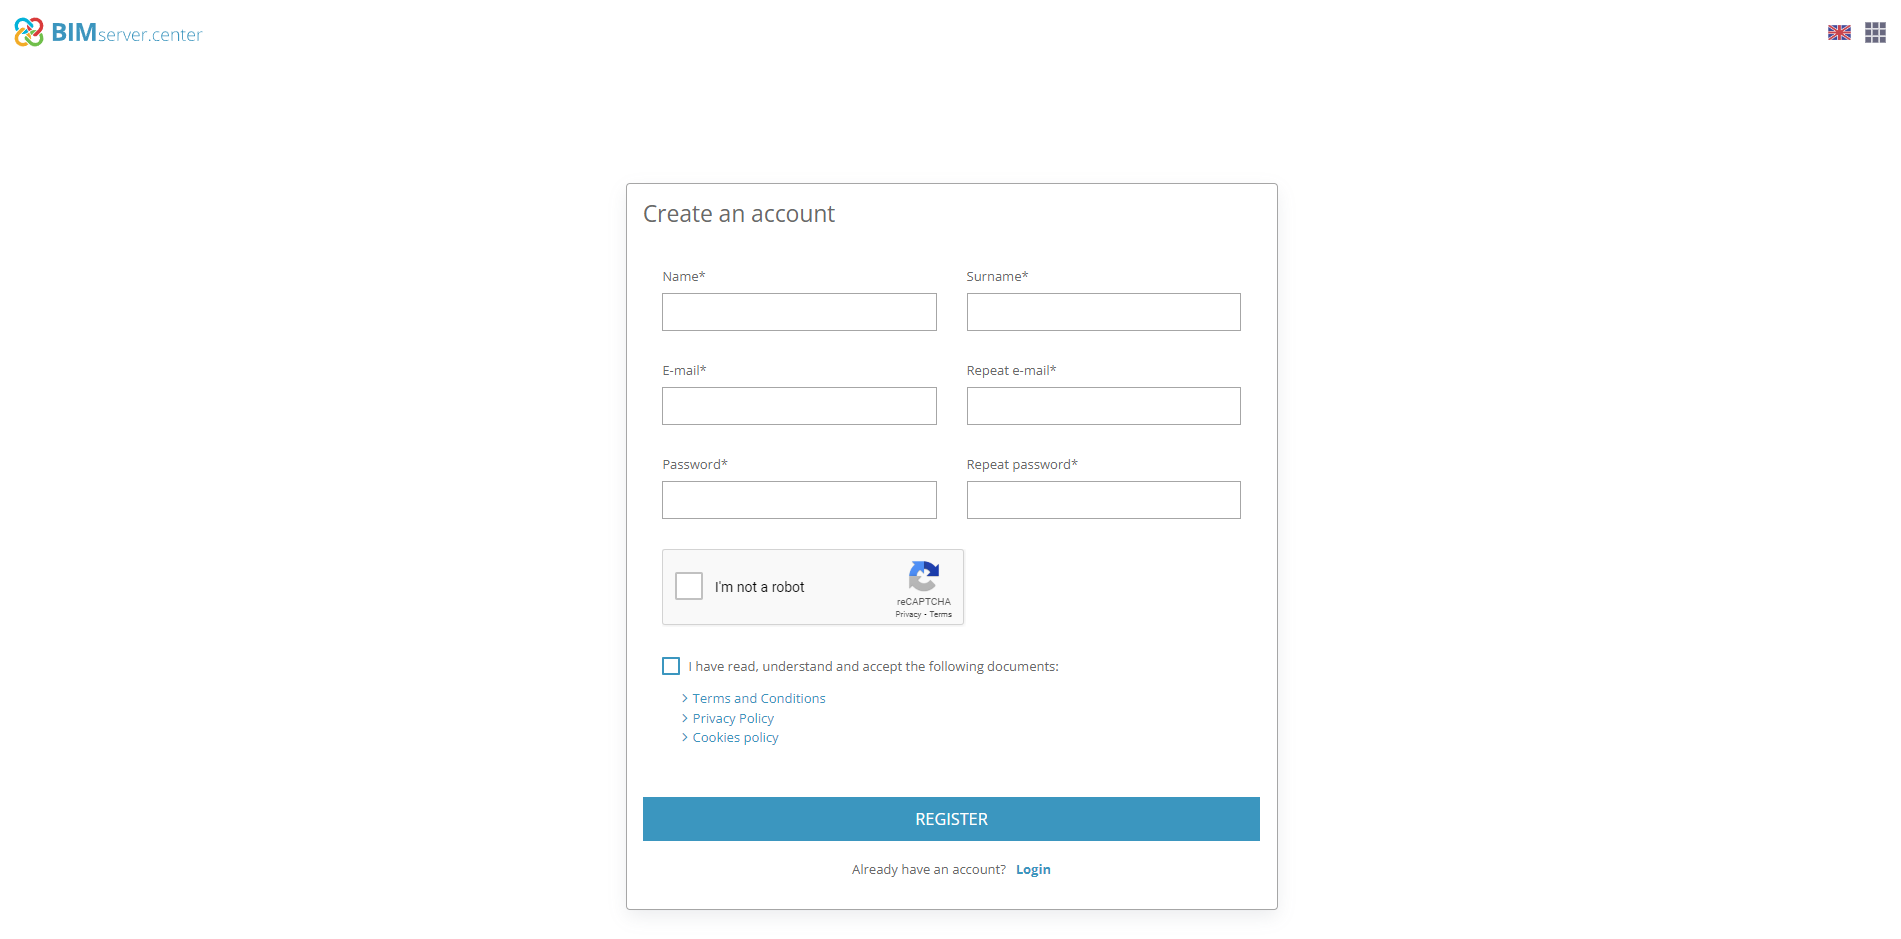
- Type in your “Name”, "Surname", an “Email” and a “Password”. Then, click on “Register”.
- Then, accept the email verification that is sent to the email address.
2. Sign in to BIMserver.center
Once registered, users must sign in to BIMserver.center with their account as follows:
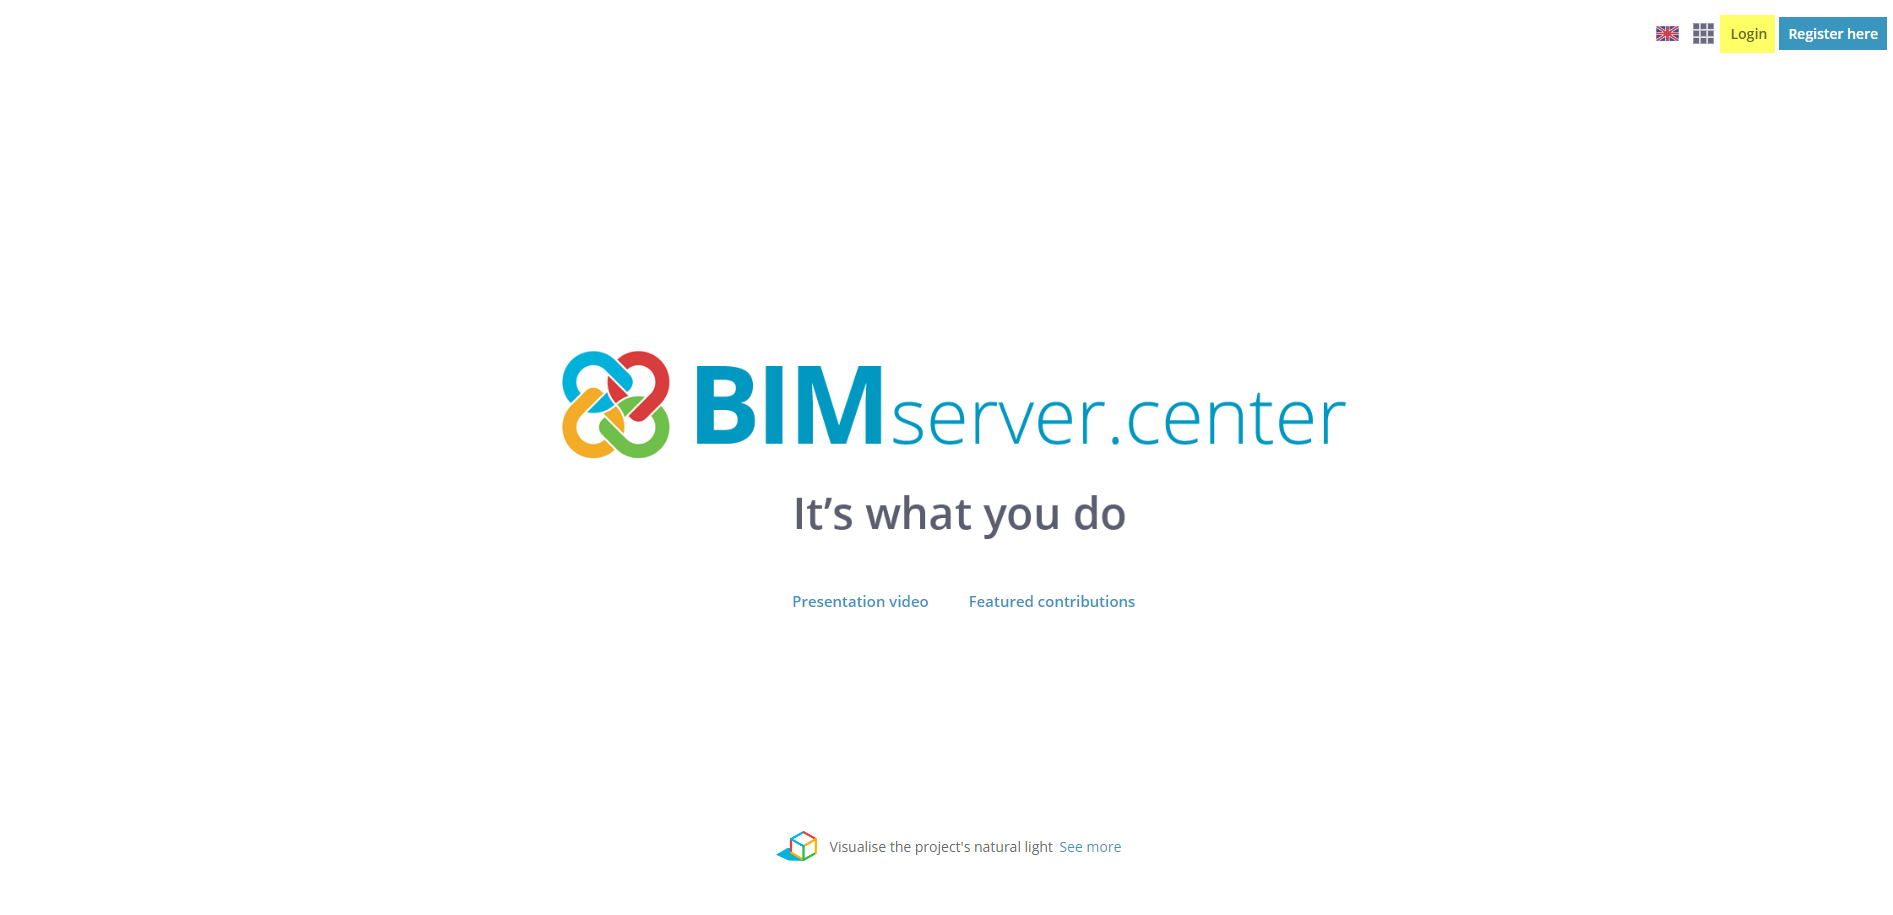
- Return to BIMserver.center via the web browser.
- Click on “Sign in” in the top right-hand corner.
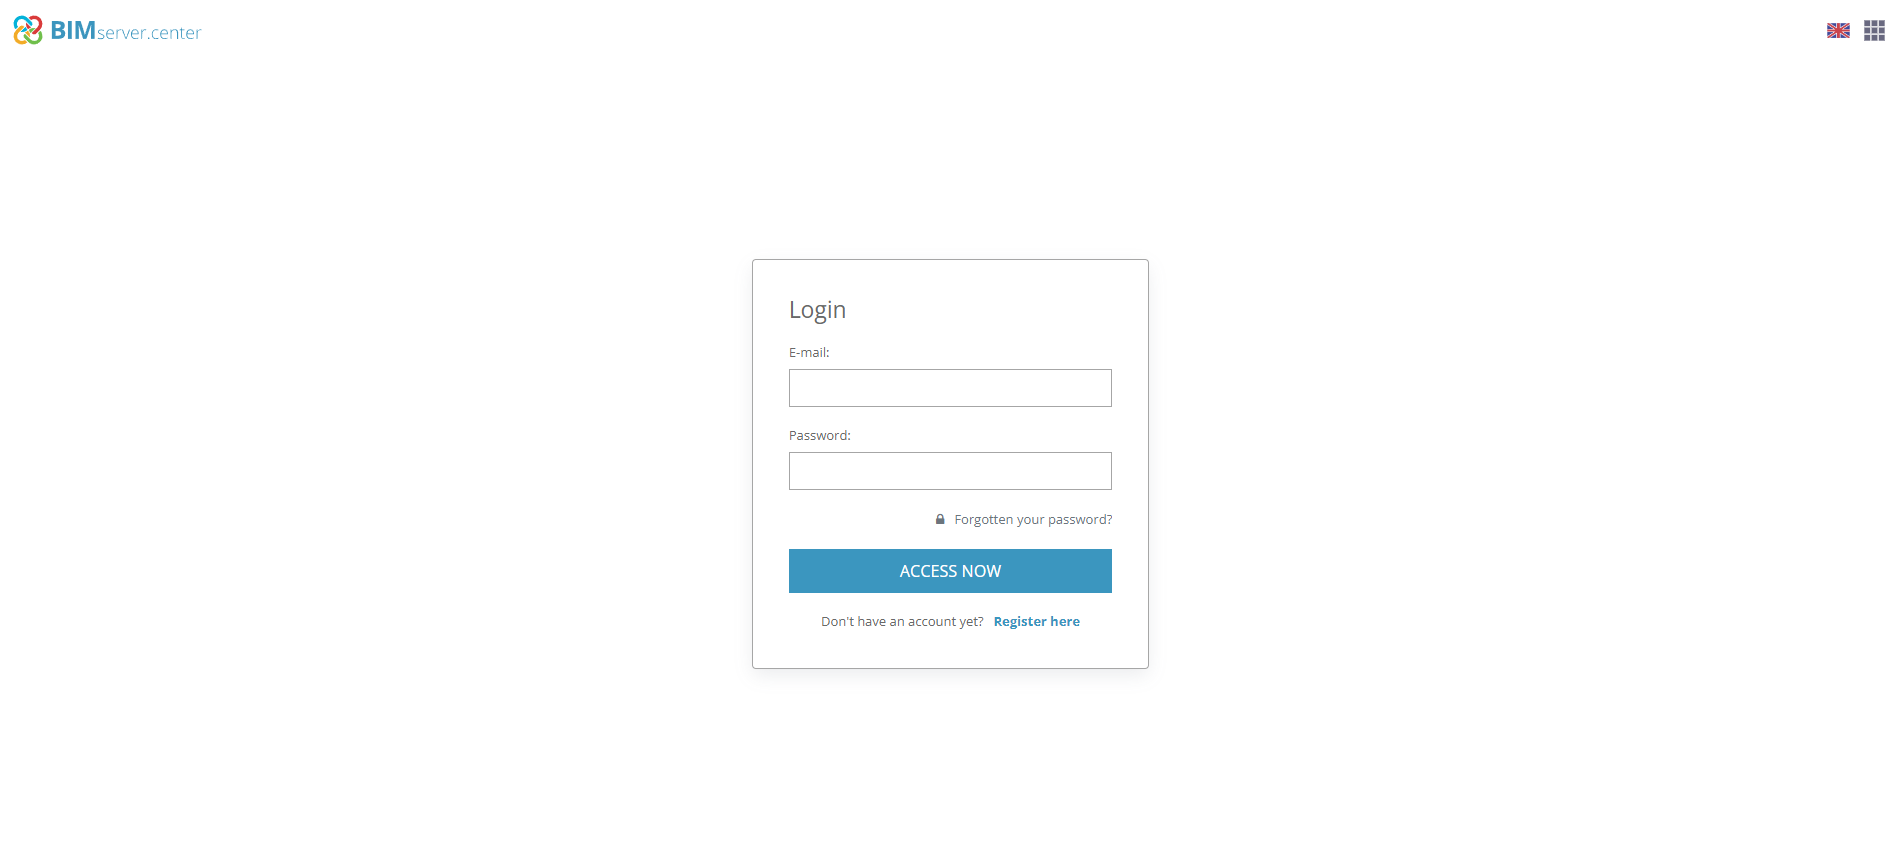
- Type in your account's “Email” and “Password” and click on “Access now”.
3. Download BIMserver.center apps
The desired app can be searched for and downloaded from BIMserver.center:
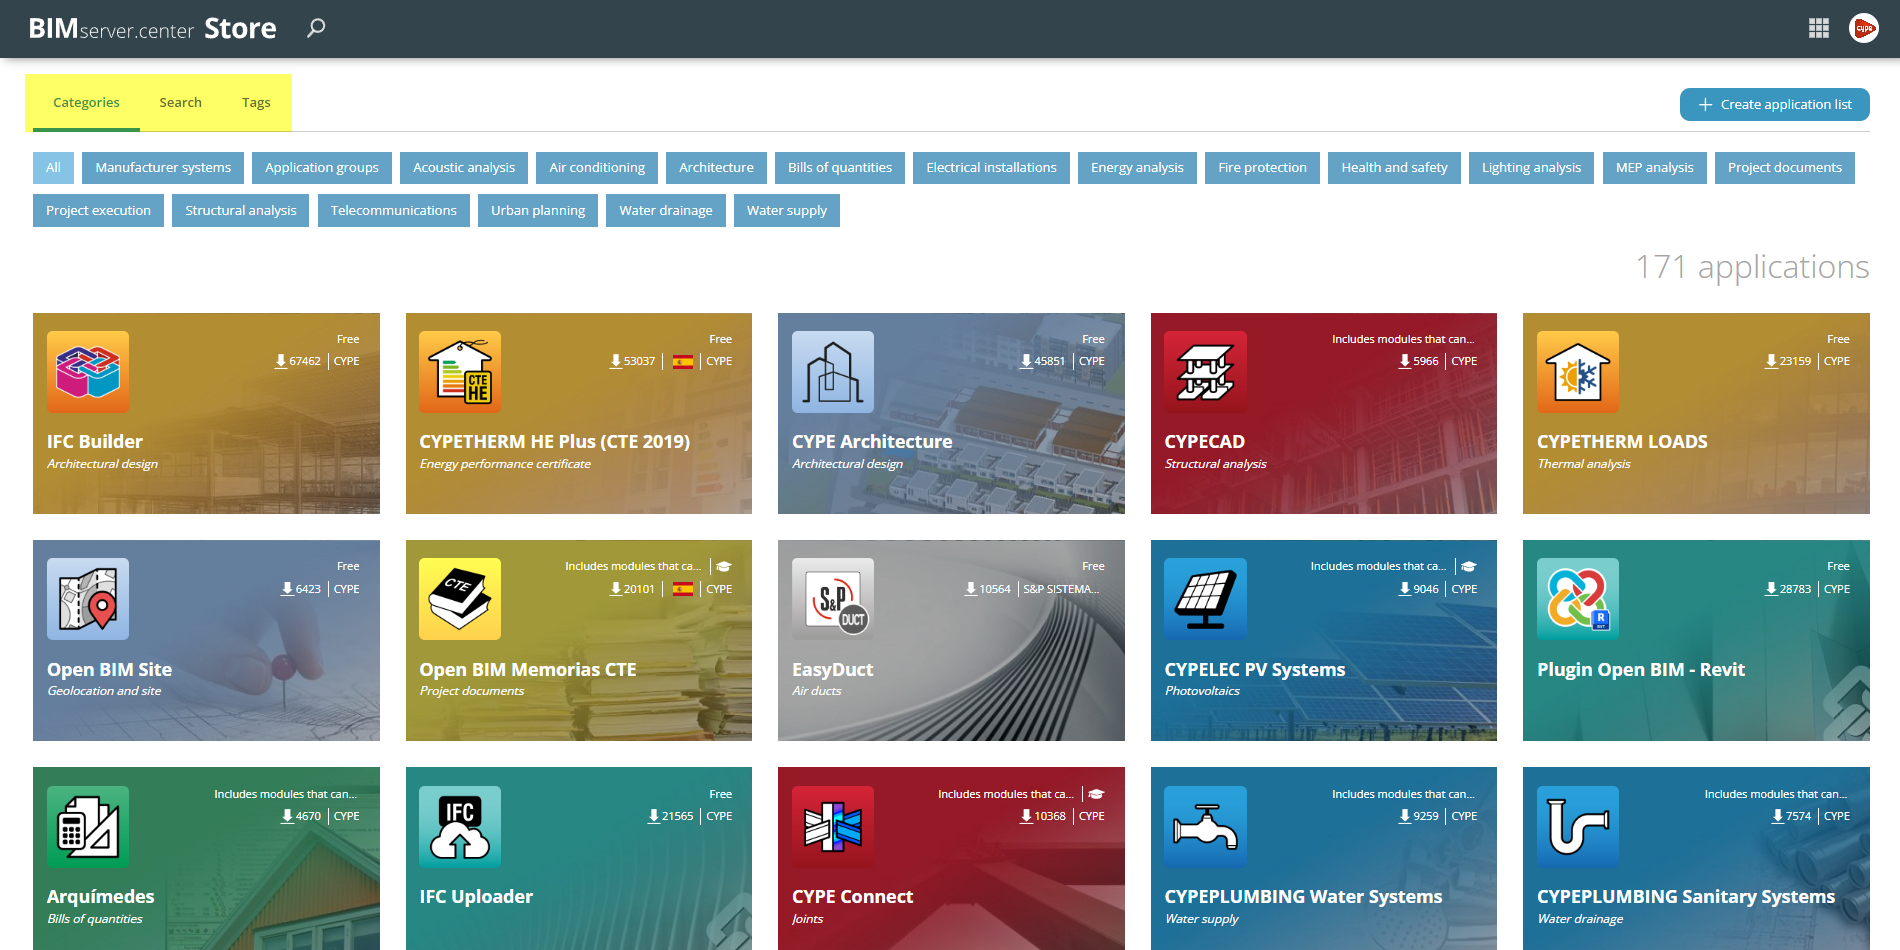
- The app catalogue can be accessed via the “Store” option.
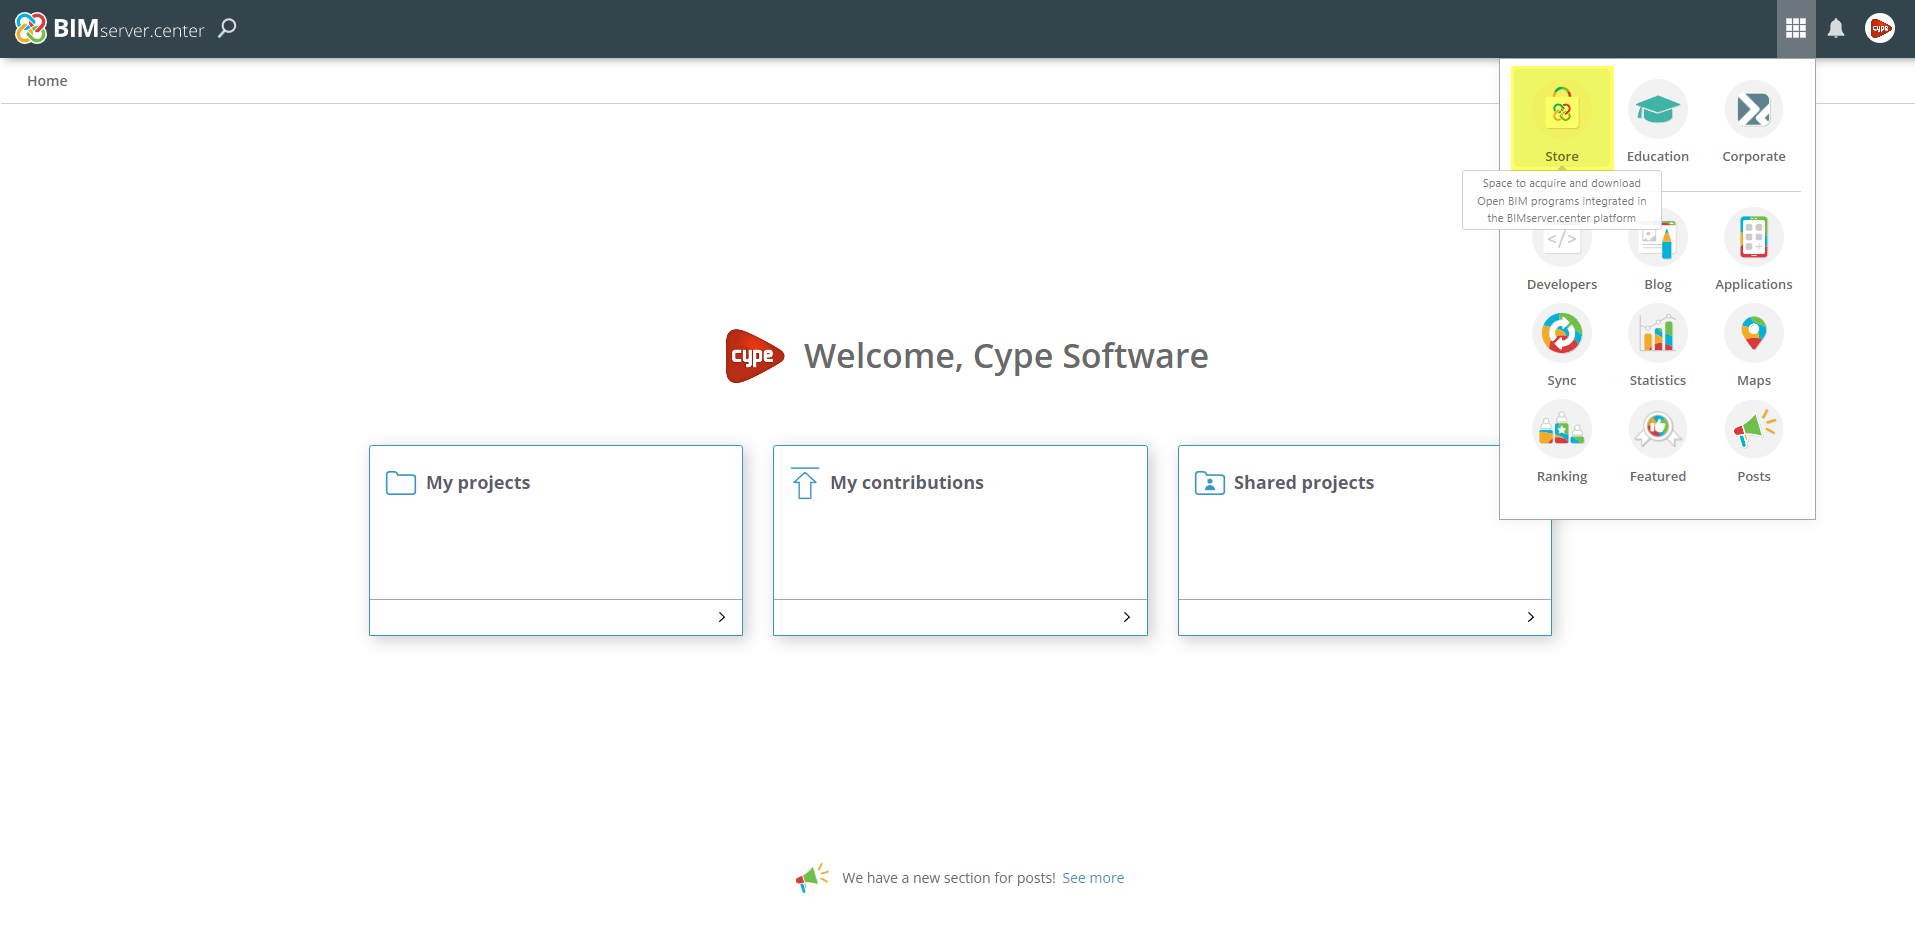
- The top section allows you to search for apps by name, category or tags. Simply select the apps to be downloaded and install them.
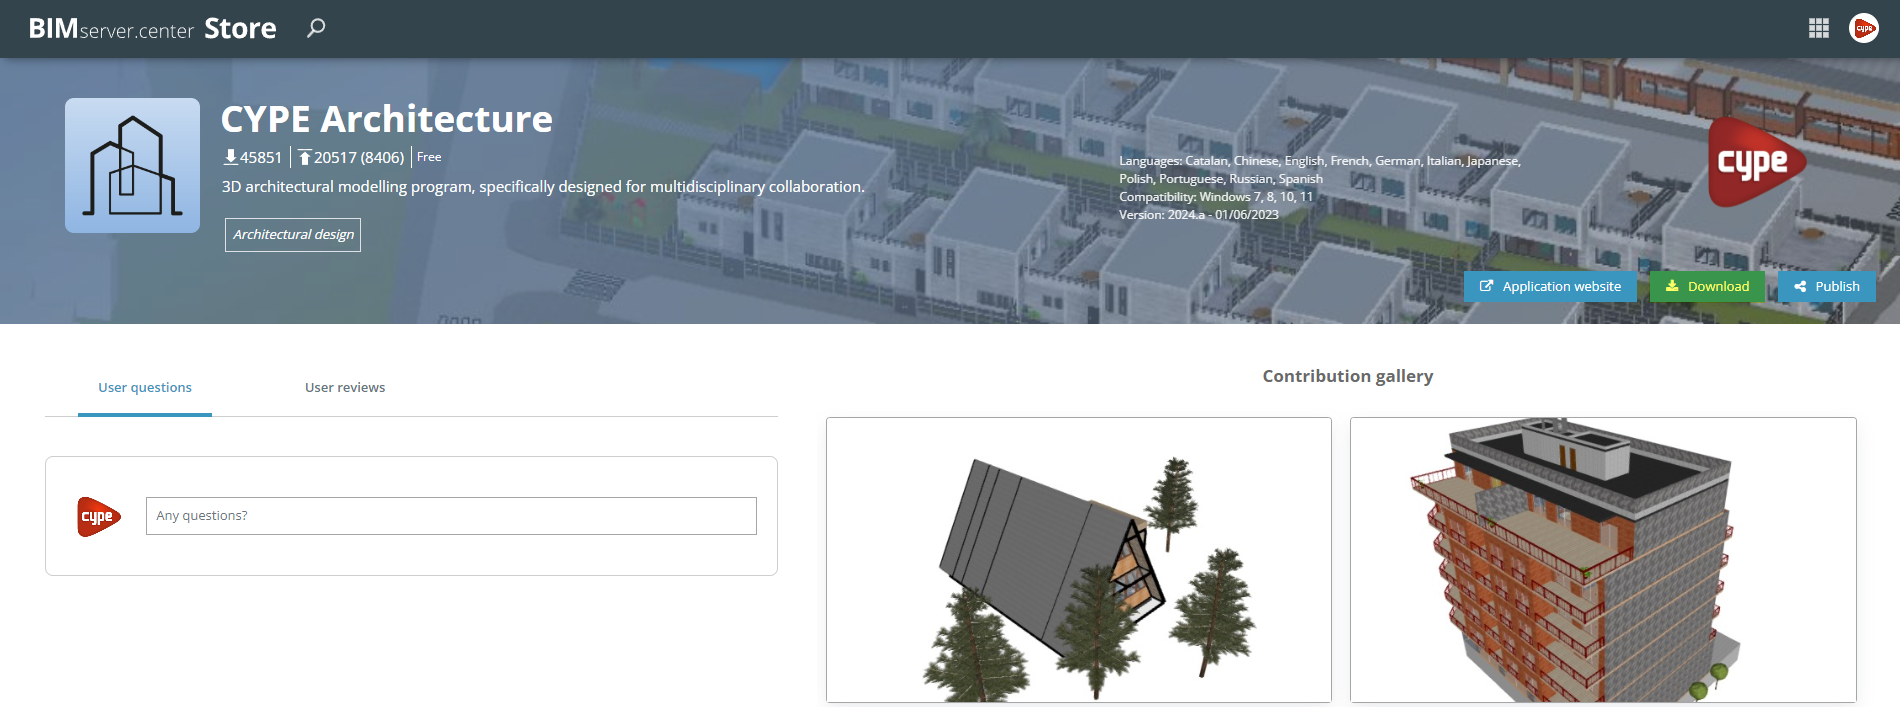
- Under the app's profile is the "Download" button in the top right-hand corner. By clicking on it, an executable file will be downloaded to the configured path.
4. Install BIMserver.center apps
The previously downloaded file allows the app to be downloaded and installed. To do this, carry out the following:
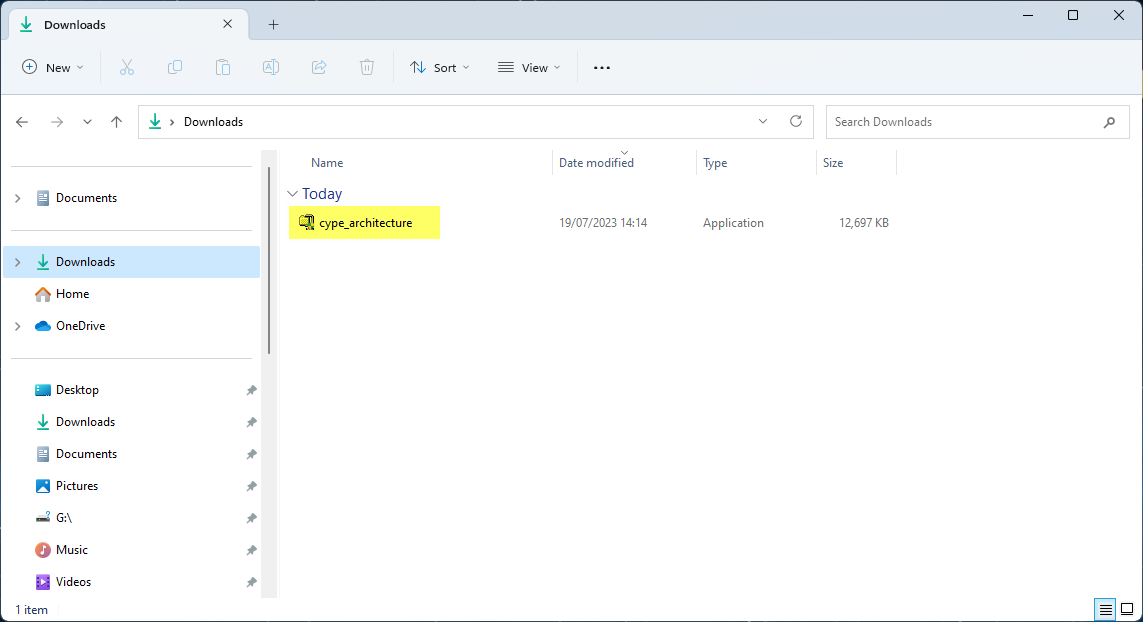
- Run the downloaded file in the download path.
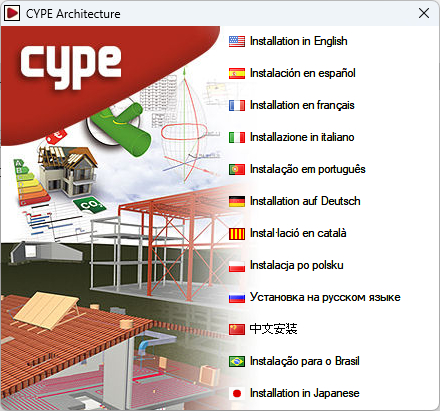
- Select the installation language from those available.
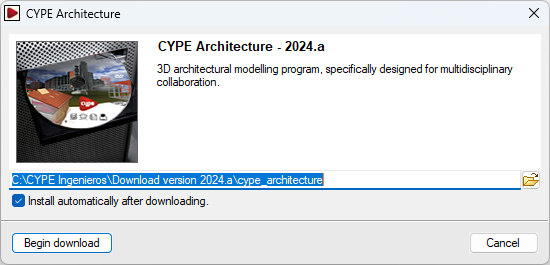
- The path where the entire application will be downloaded will be displayed. Check "Install automatically after downloading" if desired and click on "Begin download".
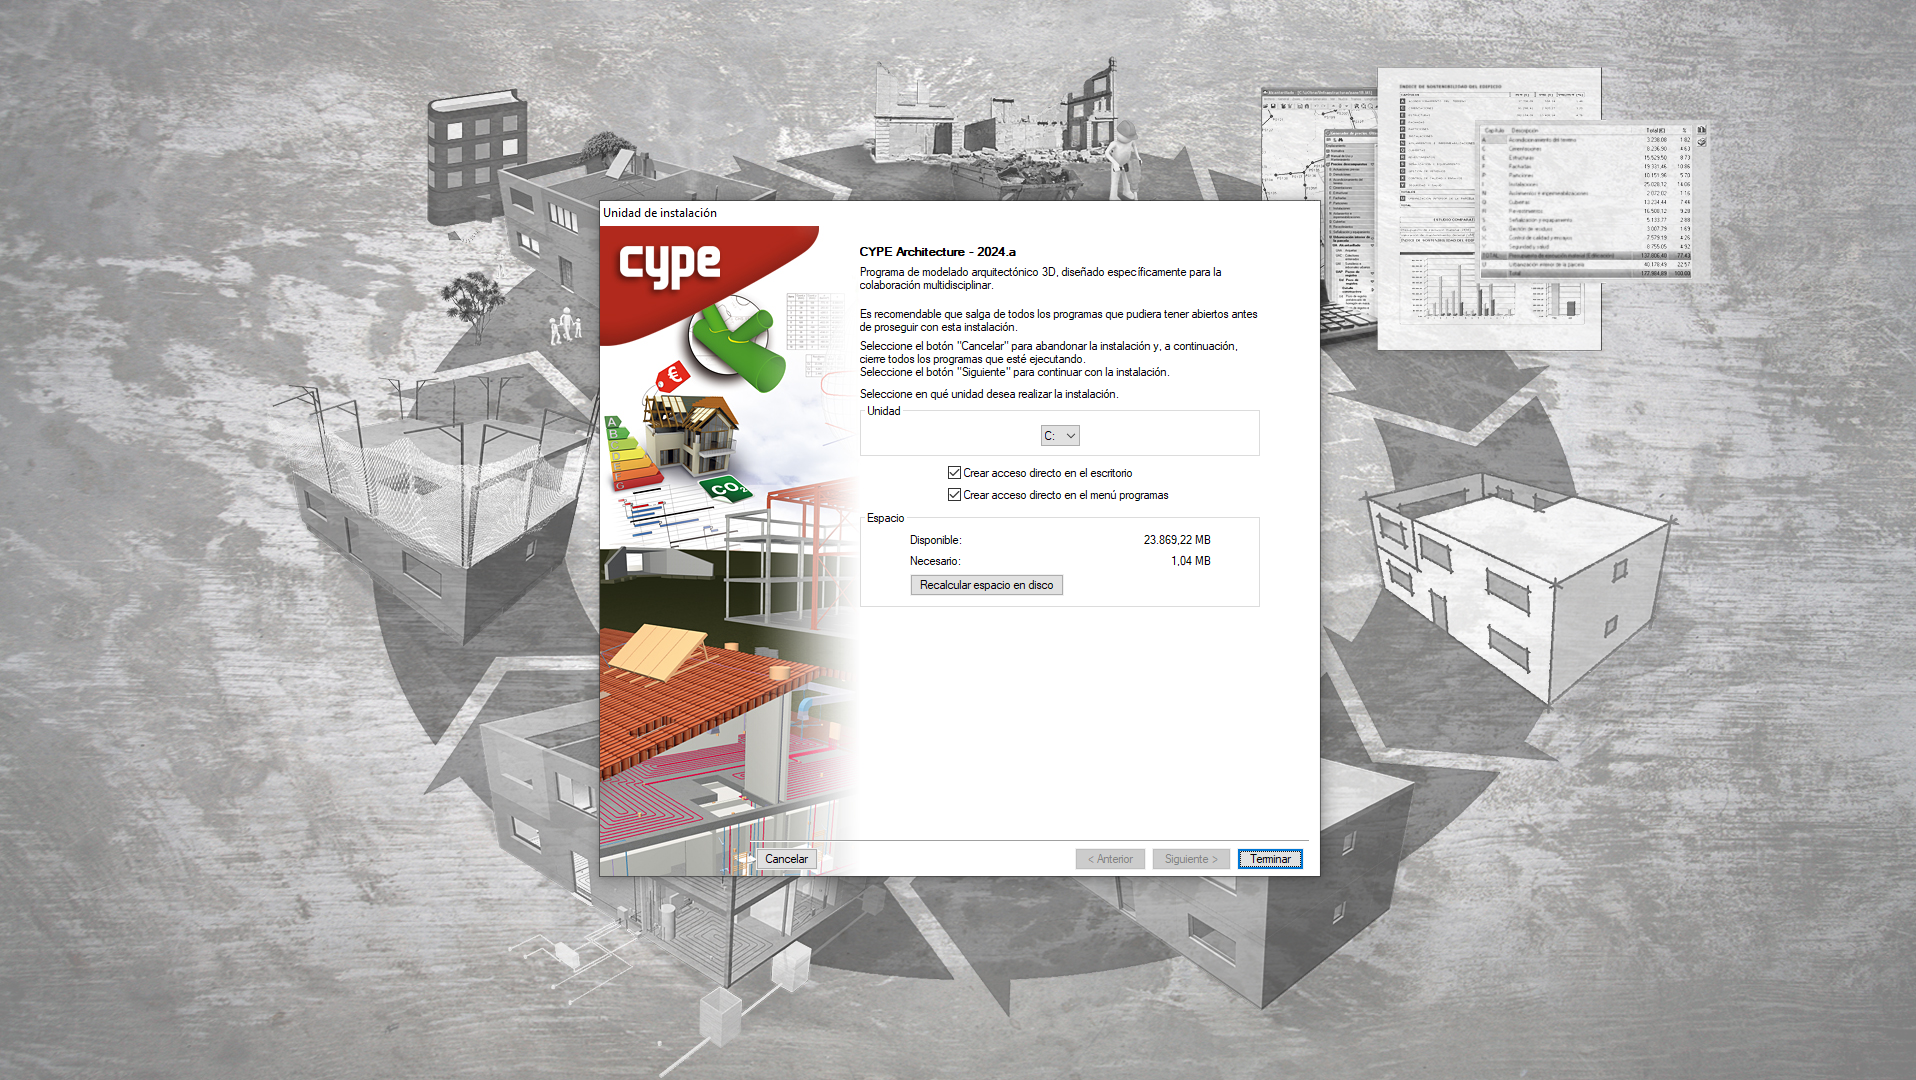
- Select the desired unit for the installation. This will determine the program installation path. For example, the installation path for CYPE Architecture 2022 is as follows: C:\CYPE Ingenieros\Version 2024\CYPE Architecture
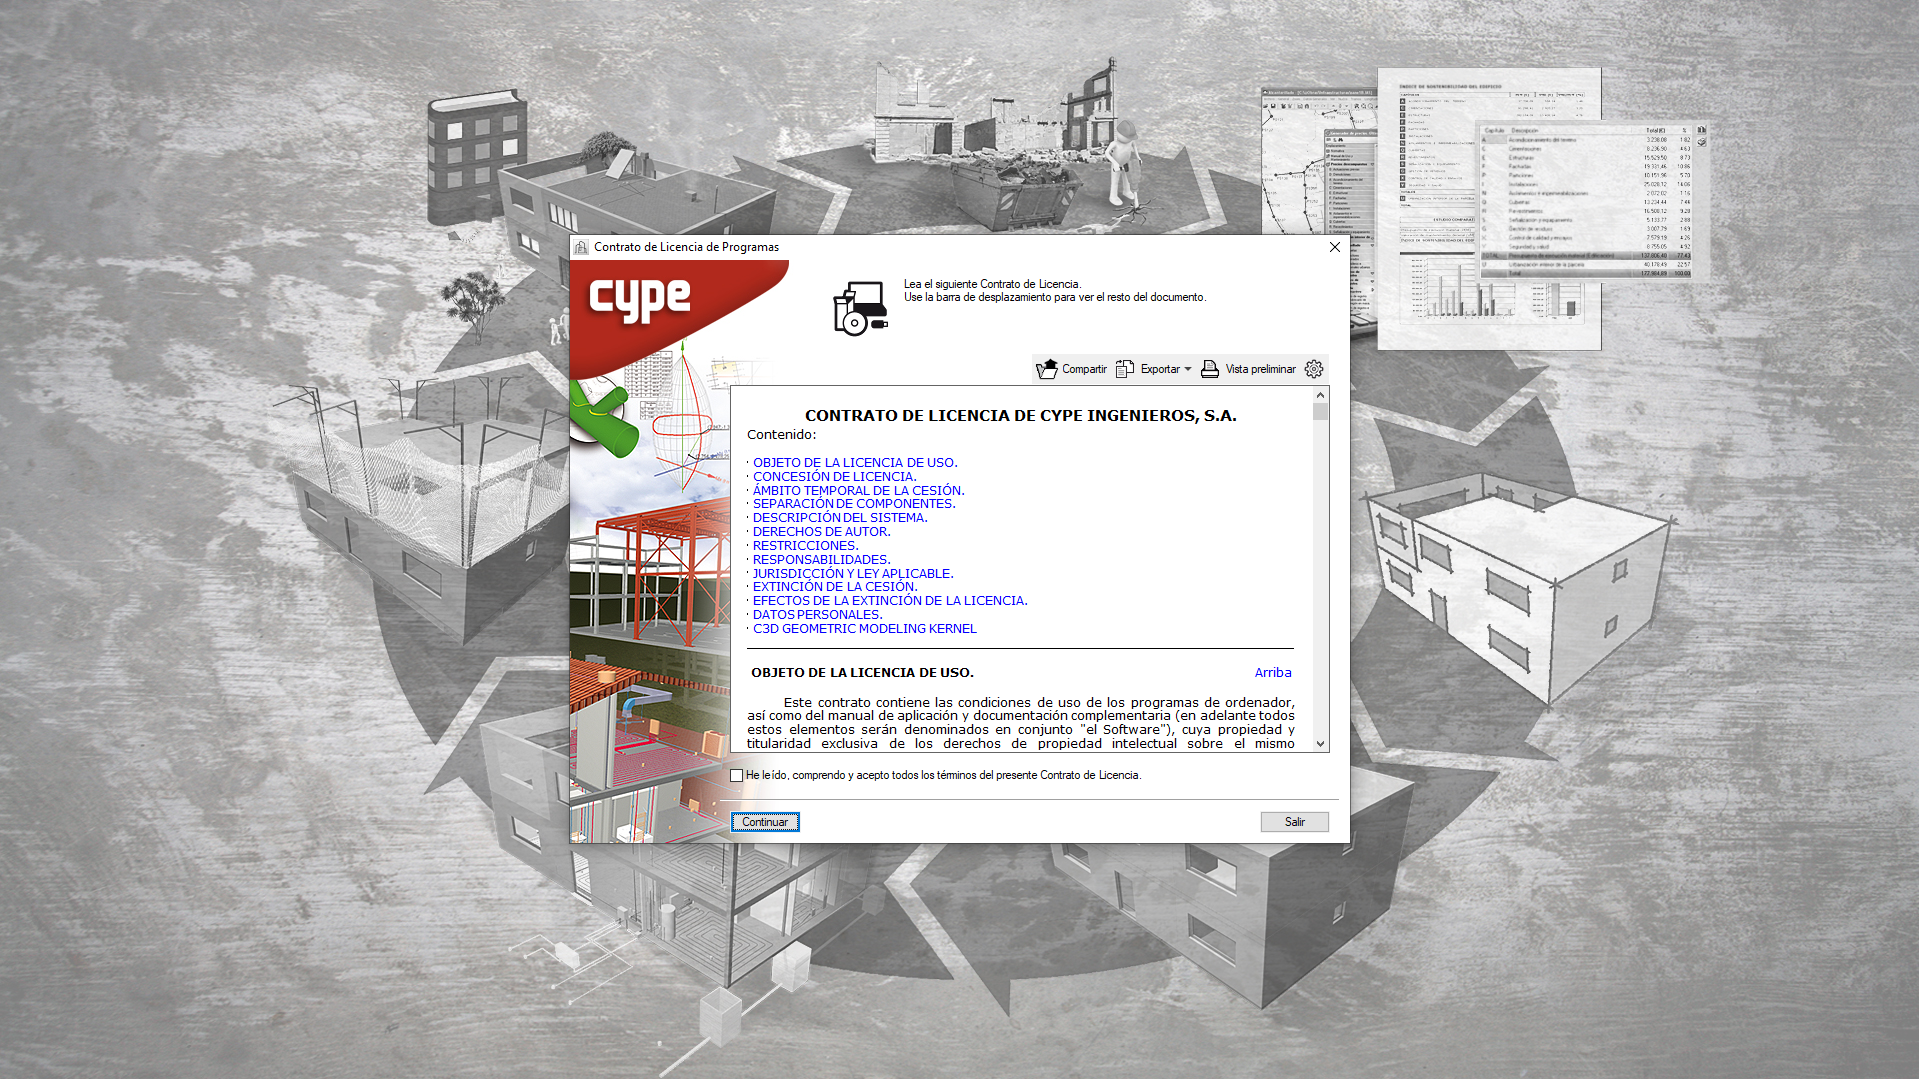
- In the installation wizard, the License Contract and the Responsibility Clause must be accepted.
- Select the desired unit for the installation. This will determine the program installation path. For example, the installation path for CYPE Architecture 2022 is as follows:C:\CYPE Ingenieros\Version 2024\CYPE Architecture
- Check the boxes to create shortcuts on the desktop and in the "Programs" menu if desired.
- For software versions purchased before 2026.a, one of the following installation versions must be chosen:
- Professional version
- Evaluation version
- Temporary licence version
- Campus version. Non-professional use

- Finally, click on "Finish".
- After finishing the installation, the app will open automatically. You can also use the shortcuts created during the installation process to open it.